

Last updated: September 10, 2026
Key Takeaways
- If the top 1 to 2 inches dry out, the leaf blades dehydrate fast.
- Lift one corner of a damaged piece 1 to 2 inches.
- If the slab lifts with almost no resistance after 10 to 14 days, rooting is weak.
- Feel the soil 2 inches below the surface.
New sod turns yellow or brown for three plain reasons: it is short on water, short on roots, or taking a beating from heat and transplant stress. Usually, the turf is trying to establish itself and cannot keep moisture even. Not a mystery disease, most of the time. More like a plant running on fumes.
The real question is simpler than it sounds. Is the sod drying out, drowning, or failing to touch the soil? That answer tells you whether recovery is realistic.
What this means, and when my answer applies
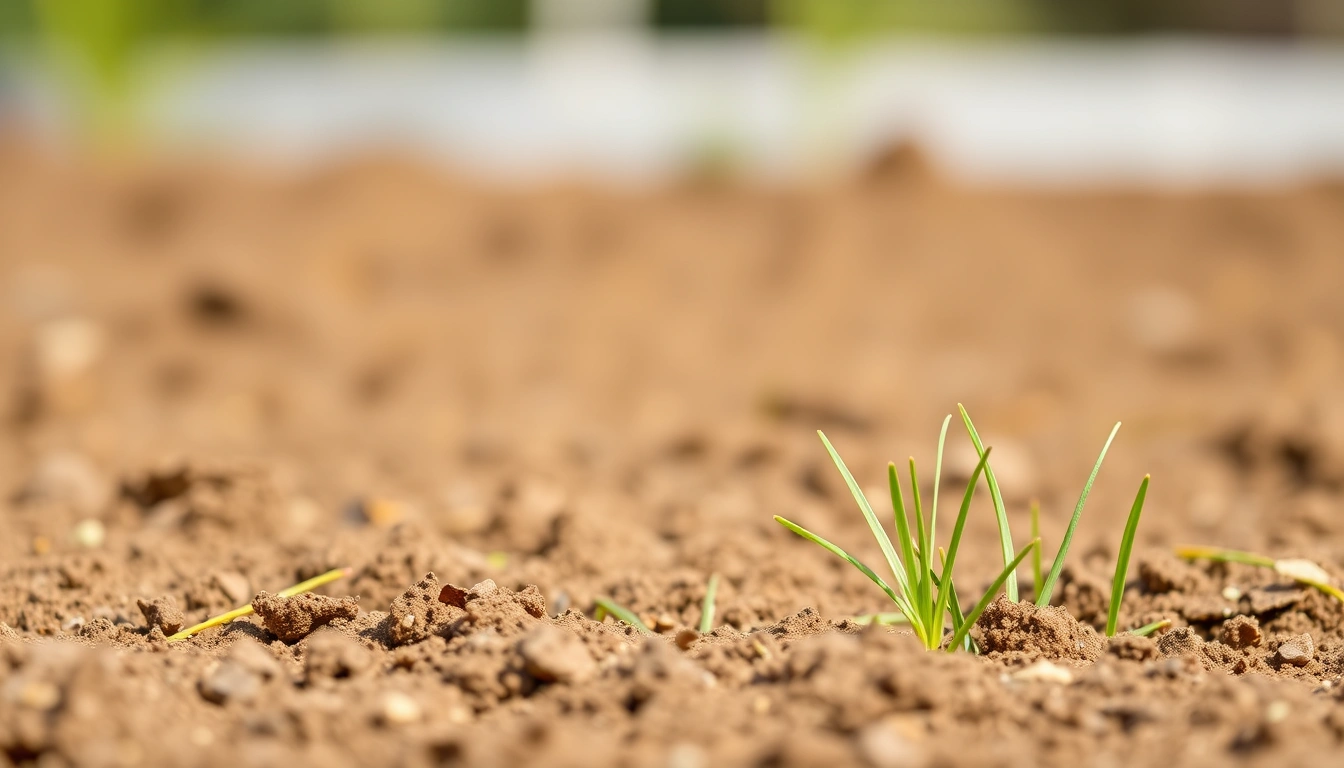
I’m talking about freshly installed sod, usually within the first 2 to 6 weeks after laying it, before the roots have fully moved into the soil below. This fits if you put it over prepared soil, topsoil, or a leveled lawn surface and you know the grass type at least roughly: bermuda, Kentucky bluegrass, fescue, zoysia, St. Augustine, or similar cool-season or warm-season turf. For establishment basics, see the USDA Natural Resources Conservation Service on soil management and establishment guidance: https://www.nrcs.usda.gov/
Water stress is the usual culprit in that window. Poor root-to-soil contact comes next. Heat damage can follow close behind, especially when sod sat on a pallet too long before installation. Ugly, but common. If the sod turns brown in patches and still peels up easily, the root system has not settled in yet. If it goes yellow all over and feels spongy or soggy, too much water and too little oxygen may be the problem. For irrigation scheduling and turf water needs, the University of California Agriculture and Natural Resources has useful guidance: https://ucanr.edu/
This is not the same as an older lawn going off-color after years of growth. Established turf brings different headaches. It also is not the right read for broad, fast-moving dead spots caused by chemical spills, concentrated pet urine, or grubs chewing up old turf. Different mess. Different fix.
And no, every yellow blade does not mean the grass is dying. During the first 7 to 10 days, some sod loses color at the tips and still bounces back normally. The job is to tell normal installation shock from an irrigation mistake or a bedding-soil problem before the window closes. Tricky? Sure. But not impossible.
Why is new sod turning yellow or brown?
New sod turns yellow or brown because the canopy loses moisture and energy faster than the root system can replace them. Several things can trigger it, but the visible pattern usually arrives in the same order: dull green, then straw yellow, then tan or brown.
Uneven moisture is the main offender. Fresh sod needs frequent watering because harvesting cuts the roots short. Until those roots reach the native soil, the slab lives on a shallow reserve. If the top 1 to 2 inches dry out, the leaf blades dehydrate fast. If the soil stays wet for days, the roots can suffocate because turf roots need oxygen as much as water. That part bites hard.
Heat matters too. In hot weather, sod can scorch while it is still on the pallet, especially if a pallet sits in direct sun for more than a few hours. After it is laid, a day with high evapotranspiration — the combined loss of water through soil evaporation and plant transpiration — can outrun your watering plan. Wind makes the situation worse. A 90°F day with steady wind can dry fresh sod far faster than a cool, cloudy day, even if you watered that morning.
Poor installation creates another issue: air gaps. If the sod bridges over a rough grade, the roots touch only high spots, not the full soil surface. Then one edge may stay green while the other edge browns. Poorly butted seams, curled edges, and dry pockets under the slab all slow rooting.
Grass type matters as well. St. Augustine sod, for example, can show shade or drought stress faster than bermuda. Kentucky bluegrass behaves differently from zoysia. I would not treat all yellowing the same way across species because rooting speed and water tolerance are not identical; honestly, that trade-off is why local extension advice helps so much.
If the sod is turning yellow evenly but not collapsing, I think stress first. If it is patchy, I think contact or irrigation pattern. If it is soft and smells sour, I think too wet. The color is the clue. Not the diagnosis.
How do I tell water stress from root failure?
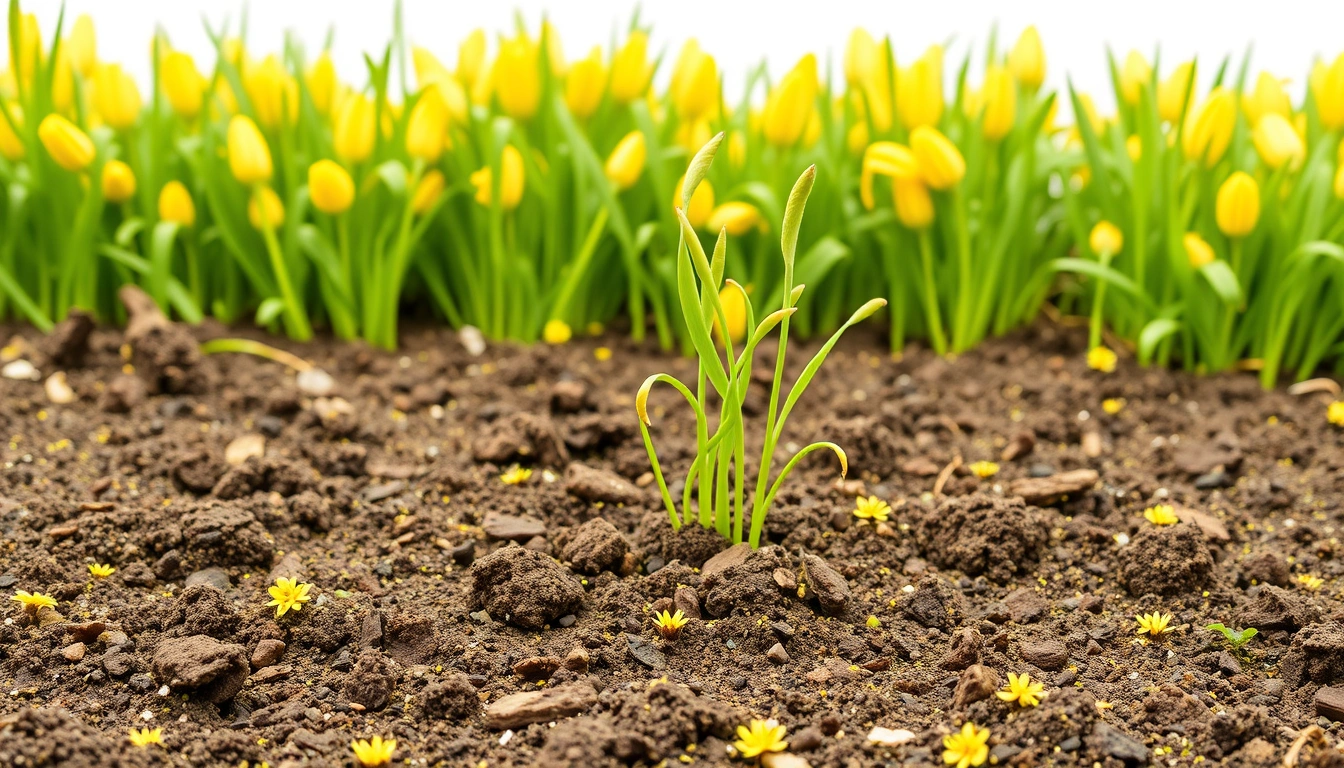
Check the moisture at the sod-soil interface, the texture of the roots, and how tightly the slab grips the ground. A knife, trowel, or screwdriver is enough; no special gear is needed.
- Lift one corner of a damaged piece 1 to 2 inches. Slide a trowel under the edge and check whether roots are reaching into the native soil. Verify that you see white or light tan roots threading downward. If the slab lifts with almost no resistance after 10 to 14 days, rooting is weak. That means the sod is still dependent on surface watering and is vulnerable to drying.
- Feel the soil 2 inches below the surface. Dig down with your fingers or a small trowel. The goal is evenly moist soil, not mud. Verify that it feels like a wrung-out sponge. If it is dusty dry, you are under-watering. If it glistens, squishes, or smells sour, you are over-watering or have drainage trouble.
- Check the underside of the sod piece. Look for roots, damp soil contact, and any gap larger than about 1/4 inch. Verify that the sod sits flat with no hollow sound when pressed. A hollow sound or visible void means the slab may be bridging over high spots, which slows root contact.
- Inspect the color pattern across 3 to 5 adjoining pieces. Uniform pale yellow suggests a watering or heat issue. Edge browning on one side often points to poor seam contact or a dry high spot. Patchy circles can mean a sprinkler coverage problem. A sprinkler head should throw water far enough to overlap adjacent heads by roughly 50% in many layouts; if one arc misses, a strip will fade.
- Press a blade between your fingers. Healthy grass blades feel flexible. Brittle blades that crack or crunch mean moisture loss. If the blades are limp and the base feels wet but the color is yellow, that points more toward oxygen stress than drought.
- Check the time since installation. In the first 7 days, surface drying is normal if the watering cycle is short. Between days 7 and 21, the sod should begin to resist gentle lifting. If it has not started rooting by the end of week 3, something in the site setup is wrong.
- Look for a root-zone barrier. Construction clay, compacted subsoil, a heavy thatch layer, or old weed fabric can block rooting. Verify that a probe or trowel can enter the soil to at least 4 to 6 inches without unusual resistance. If it stops at a hard pan or smeared layer, water may be pooling above it.
A good result is simple: the sod stays green, the edges stop curling, and the slab resists a gentle tug after about 2 to 3 weeks, depending on weather and grass type. A bad result is not just brown color; it is easy lifting, sour smell, or a wet-but-dead look. The whole thing can turn on a dime.
What do I do first if the sod is already changing color?
Correct moisture first. For most new installs, that means watering the whole area deeply enough to wet the top 4 to 6 inches of soil, while avoiding puddles and runoff. If the surface dries in under 30 minutes on a hot, windy day, the site may need shorter, more frequent cycles rather than one long soak.
Start with a test zone: mark a 3-foot by 3-foot square and check it at the same time each day for 3 days. The target is consistent moisture, not a fixed schedule copied from a neighbor. If the top inch dries but the second inch stays moist, the timing is close. If both inches dry by midday, increase frequency. If the area stays shiny or muddy for more than a day, back off and inspect drainage.
Next, verify sprinkler coverage. Run the system long enough to see whether each head reaches the edge of the next head’s pattern. Missing overlap creates brown stripes that often get blamed on disease. On a small lawn, even one clogged nozzle can leave a 2-foot-wide dry band. Mechanical problem. Not turf failure.
If the grass has slipped out of contact with the soil, press it down with a lawn roller only if the soil below is moist, not saturated. A roller on muddy soil can make compaction worse. If the grade is uneven by more than about 1/2 inch in spots, lifting and relaying those pieces is better than watering them into a bad fit. Sometimes the simplest fix is the messy one.
Do not fertilize as the first fix unless the install was done on exhausted soil and you already know the nutrient status. Fertilizer can push leaf growth faster than the young roots can support, which makes yellowing worse. I would choose water, contact, and drainage checks before any feeding. That approach is wrong for somebody who already has standing water, because more water will not save a suffocating root zone.
The mistakes people actually make, and what they cost
Watering by the calendar instead of checking the soil is the most common mistake. A fixed “10 minutes every morning” plan can leave one yard dry and another flooded. The cost is either wilted sod or root rot. The better alternative is to check moisture 2 inches down and adjust by weather.
Letting pallets sit too long before installation is another one. Fresh sod can heat up in stacks, especially in sun or wind, and the root mats can dry out before they ever touch the lawn. The cost is edge browning within a day or two of laying. The smarter move is to install as soon as possible and keep unused pieces shaded and damp, not soaked.
Mowing too early or too short causes a third problem. New sod that gets cut before it is anchored can tear, shift, and lose more leaf surface than it can spare. The cost is slower rooting and visible seams. The correct alternative is to wait until the sod resists a light tug and then mow at the highest recommended setting for that grass, usually leaving at least 2.5 to 3.5 inches on many cool-season lawns.
Chasing color with fertilizer is another trap. Yellowing from drought, heat, or poor contact does not need nitrogen first. The cost is weak, fast top growth and more stress. The better alternative is to fix water and root contact before adding anything. Soil first. Leaves later.
Assuming every brown patch is disease also wastes time. New sod can brown from one bad sprinkler head, a dry seam, or a gap under a corner. The cost is delay and money down the drain. The correct alternative is to trace the watering pattern and lift a few pieces for inspection.
Walking on loose, fragile sod rounds out the list. Foot traffic breaks new roots and leaves depressions that collect heat and water unevenly. The cost is permanent unevenness in small areas and slow establishment. The better alternative is to limit traffic for the first 2 to 3 weeks, especially in heat. Not glamorous. Just effective.
When should I stop troubleshooting and change course?
Stop with the standard recovery steps when the sod is too damaged, the soil is physically wrong, or the site conditions will keep defeating the grass. Here are the situations that change the answer:
The sod lifts like a rug after 14 to 21 days: The roots have not knitted into the soil — patching the watering schedule alone will not fix a bad seedbed or poor contact. Reassess grading, loosen the topsoil, and relay the affected sections.
The area stays wet for more than 24 hours after watering: The root zone is oxygen-starved — reduce irrigation and check for compaction, clay, or drainage blockages. If water cannot move through the soil, the grass will keep yellowing.
Browning follows one sprinkler arc or a straight line: This is a coverage problem, not a turf problem — clean, adjust, or replace the affected head and retest overlap before doing anything else.
The sod was installed in extreme heat and sat on the pallet for hours: The planting stock may have been damaged before installation — some sections may recover, but badly heat-damaged rolls often fail. Replace the sections that are most damaged instead of assuming every roll will recover on its own.
The soil beneath is hard, smeared, or only a few inches deep: The sod has nowhere to root — improve the root zone to at least several inches of workable soil before expecting normal recovery. Thin or compacted fill is the wrong tool for turf.
The color change is accompanied by a sour smell or black, slimy roots: That points to rot from excess moisture — cut back watering immediately and fix drainage. More irrigation will make it worse.
These are the places where “wait and water” stops being good advice. The wrong move is to keep increasing water or fertilizer when the root zone is already failing.
What a healthy recovery looks like — and what edge cases change the plan
A healthy recovery usually shows up in 7 to 21 days, depending on temperature and grass type. You should see less curling, firmer footing, and richer color from the center of the blade outward. The seams begin to disappear, and the sod takes a light pull without lifting. In warm weather, rooting often happens faster than in cool, cloudy conditions, but the exact pace depends on the species. Bermudagrass and zoysia generally behave differently from fescue and Kentucky bluegrass, and shade slows all of them.
There are edge cases where the standard watering-and-contact plan needs adjustment. Shade is one: in areas with less than about 4 hours of direct sun, new sod dries more slowly but also grows roots more slowly, so overwatering becomes easier. Clay soil is another: it holds water well but can suffocate roots if puddling survives. That’s a nasty one.