

Last updated: September 10, 2026
Key Takeaways
- A simple tuna-can test can show uneven sprinkler output in 15 to 20 minutes.
- I’d start here: water within 30 minutes of installation.
- On a 90°F day with wind, water more often; on a 65°F cloudy day, water less.
- After 7 to 10 days, cut back on frequency and run longer cycles.
Table of Contents
- How should I water new sod after installation?
- How do I know if I’m watering too much or too little?
- What are the mistakes people make with new sod?
- When should I stop following the standard watering schedule?
- How long does it take for new sod to settle?
- What changes in hot weather, shade, or different sod types?
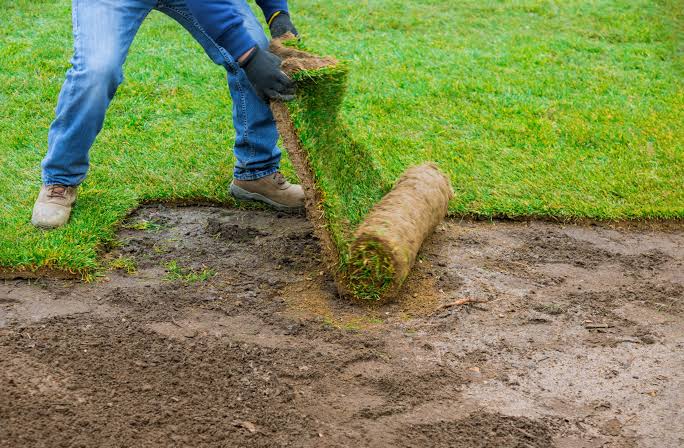
New sod starts out thirsty. Very thirsty. At first, it needs frequent, shallow watering; later, you shift to deeper soakings once the roots begin knitting into the soil. Miss that first 2 to 3 weeks, and the grass can dry out, shift, or root badly. Get it right, though, and the turf settles fast and stops behaving like a carpet.
Who this is for, and what I’m assuming you already know
This is for someone who just had new sod installed, or who is figuring out how to care for sod laid in the last 30 days. I’m assuming you know where the sprinkler controls are, that your yard uses hose-end sprinklers, an in-ground system, or both, and that the sod went onto prepared soil rather than bare hardpan. I’m also assuming you know whether the grass sits in full sun, partial shade, or under trees, because that changes how quickly the surface dries.
Water the sod and the top inch of soil evenly until the roots grab. Then reduce frequency and increase soak time. Simple, yes. Easy, not always. Moist is not swampy, and that difference matters. Standing water for hours is trouble because new roots need both water and air. Press a screwdriver into the soil below the sod: if it feels dry 1 to 2 inches down after the first week, you’re under-watering. If footprints squish water or the seams feel soft and slick, you’ve gone too far.
For a local service business, this is where the decision about who to call starts. A good installer should leave you with a clear watering schedule for your climate and season, and should explain whether the sod was pinned, rolled, or installed over sand, loam, or amended topsoil. If they can’t tell you that, one useful piece of information is already missing. Honestly, I’d treat a lawn on a slope, in compacted clay, or installed during a heat spell above 85°F differently from a flat yard in cool weather; in those cases, talking with a local turf or irrigation professional makes sense. The University of Florida IFAS sod installation guidance also notes that slope and soil conditions affect establishment and watering needs. Source
How should I water new sod after installation?
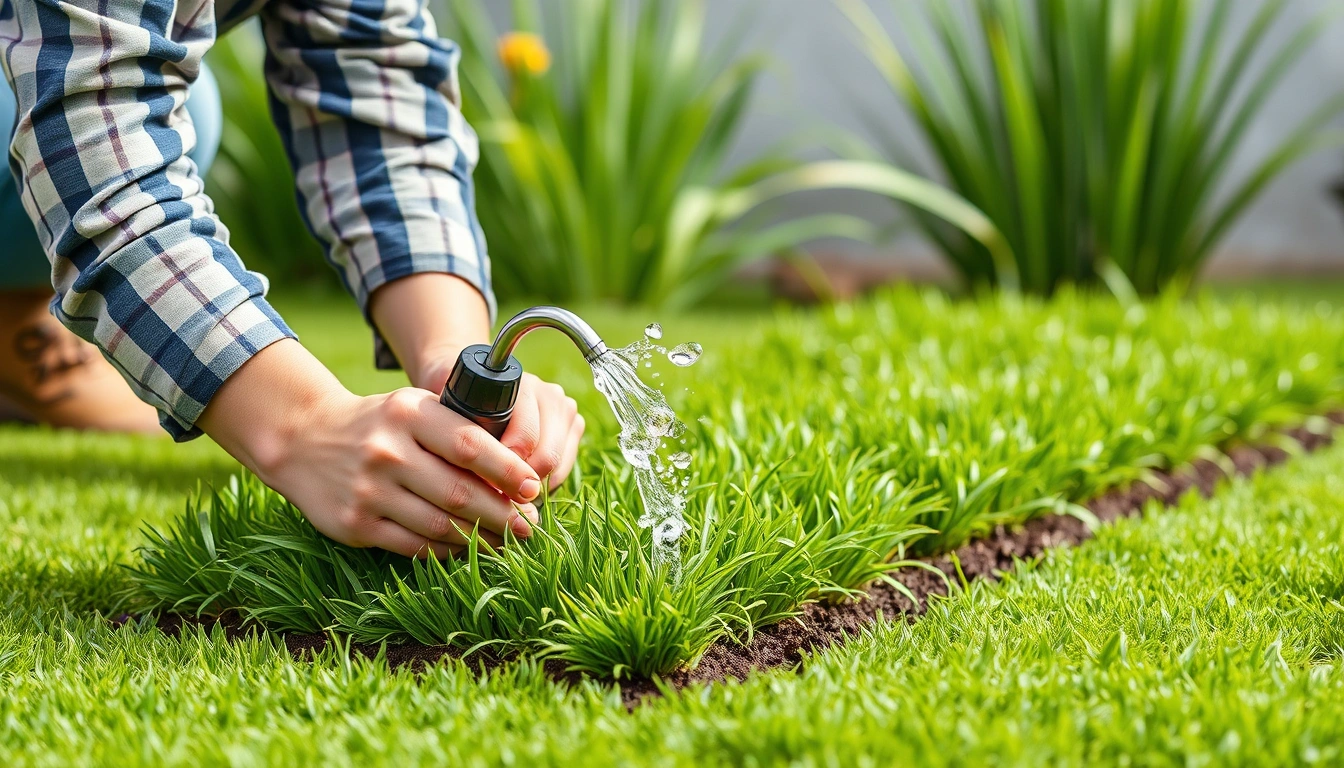
Water it immediately. Then keep the upper layer consistently moist with short, frequent watering for the first 7 to 10 days. After that, stretch the gap between watering sessions while making each run longer so moisture reaches the root zone, usually the top 2 to 4 inches of soil.
Here’s the practical version I’d use to start:
- Water within 30 minutes of installation. Run enough water to soak the sod and the soil beneath it, usually about 10 to 20 minutes per zone with sprinklers, depending on output. Verify: the sod should look dark and feel heavy, and seams should no longer look dry and curled. Problem sign: edges lift easily or the sod already looks pale and brittle.
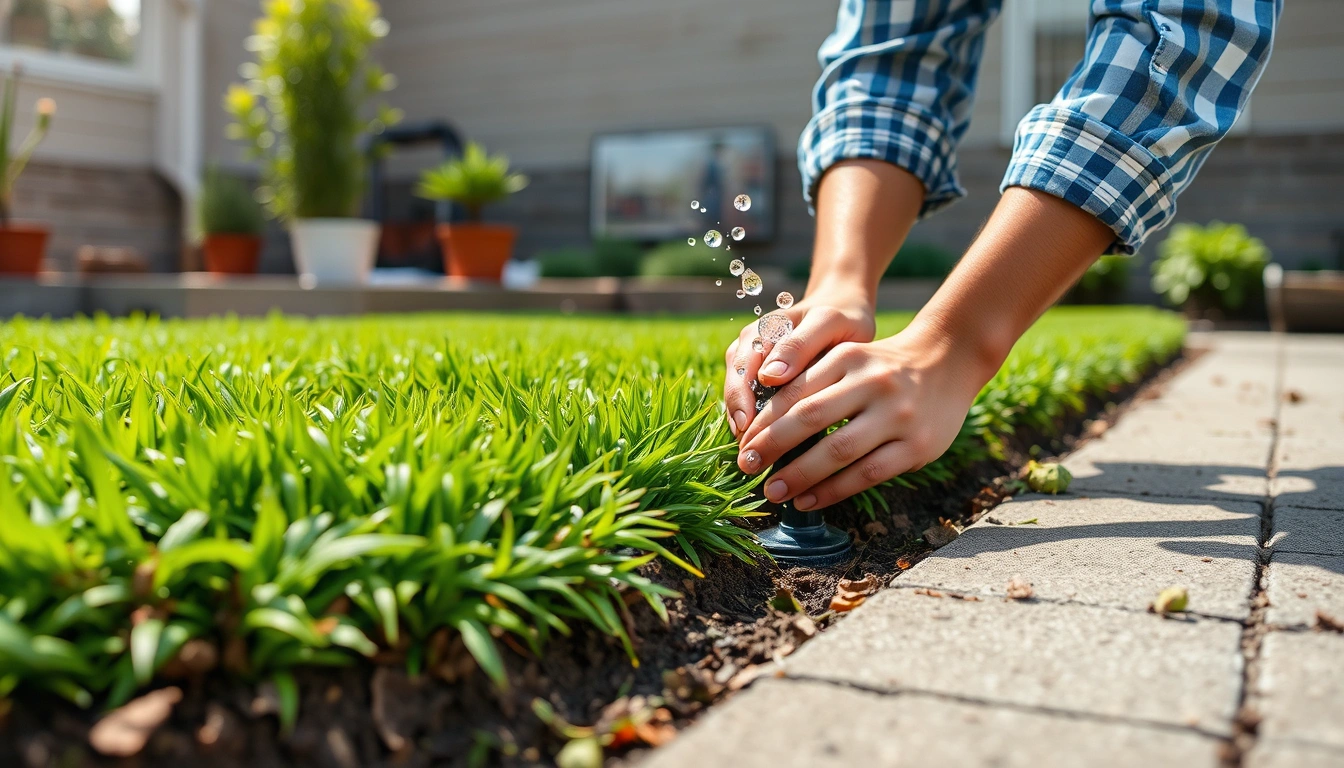
- Check coverage across the whole yard. Make sure every section gets hit by water, especially corners, strips along fences, and areas near walls. A simple tuna-can test can show uneven sprinkler output in 15 to 20 minutes. Verify: cans or shallow containers fill at roughly similar rates. Problem sign: dry patches appear in the same places each cycle.
- Water 2 to 4 times per day for the first week in warm weather. Each run is usually short, often 5 to 10 minutes, just enough to keep the surface damp without puddling. In cool, cloudy weather, one to two runs may be enough. Verify: the sod stays cool and flexible through the day. Problem sign: the top dries to a lighter color before the next cycle.
- Adjust for temperature and wind. On a 90°F day with wind, water more often; on a 65°F cloudy day, water less. Wind can strip moisture faster than heat alone. Verify: the sod does not crust or curl at the edges by midday. Problem sign: one side of the yard dries much faster than the rest.
- After 7 to 10 days, reduce frequency and increase duration. Move toward once-daily watering, then every other day, while making each cycle long enough to wet deeper soil. Verify: roots begin to resist a gentle tug, and the turf feels anchored. Problem sign: you can still lift a corner like a rug.
- Test root progress after about 10 to 14 days. Lift a corner at a seam in a hidden area; roots should start to hold the sod in place. Verify: you feel resistance instead of easy separation. Problem sign: the sod peels up cleanly and the soil underneath is dusty.
- Transition to deep watering around weeks 3 to 4. Water less often, but long enough to moisten 4 to 6 inches of soil when possible. That usually means one or two deeper sessions per week, not daily sprinkles. Verify: grass blades stay upright between waterings without wilting in the morning. Problem sign: footprints linger or the lawn looks gray-blue by afternoon.
- Stop watering on a fixed calendar if the soil tells you otherwise. Use the finger test, a screwdriver, or a soil probe to check moisture 2 inches down. Verify: soil feels damp, not muddy. Problem sign: the surface is green but the layer underneath is dry and crumbly.
Runtime depends on sprinkler output. A rotary head, a fixed spray nozzle, and a drip line all behave differently, so minutes alone can mislead you. Depth is what counts. If your irrigation system delivers about 0.25 inch per cycle, that is a very different animal from 0.75 inch. Don’t guess if you can avoid it. A catch-cup test is a practical way to estimate output.
For setup help, this is also a good moment to review your sprinkler layout and use a basic irrigation calculator or zone map. Sprinkler coverage affects how evenly new sod roots, and irrigation output determines whether a short run is enough.
How do I know if I’m watering too much or too little?
Look at the grass and the soil, not just blade color. New sod can look green while the roots are still dry, and it can look a little dull while still holding enough moisture.
Too little water shows up as curling edges, a lighter gray-green cast, footprints that stay visible, and seams that separate. If the sod shrinks, the edges pull back and expose the joints. That matters because small gaps dry faster and can invite weeds before the sod closes. Too much water shows up as spongy footing, puddles that remain more than 30 minutes, sour-smelling soil, or a blackened seam line where water has stayed trapped. New sod laid on tight clay is especially vulnerable to that last problem.
Here’s a useful check: lift one corner at a seam after several days. If the underside is still muddy, you’re probably overwatering or letting one pass run too long. If the underside is dry and the roots are not reaching, you’re under-watering or your sprinkler pattern misses that spot. Morning is often the best window because less water is lost to evaporation, but local weather, wind, and irrigation timing still matter. Evening watering can leave the blades wet overnight, which is not ideal for fungal pressure, and the EPA’s WaterSense guidance recommends watering early in the day to reduce evaporation loss. Source
The trade-off is plain: new sod needs frequent moisture, but not endless saturation. That’s why a lot of generic lawn advice falls apart. It says “water deeply and infrequently” without admitting that this comes later, after the sod has rooted. During the first week or two, the rhythm should be more frequent and lighter, then deeper and less often. Chickens and eggs. Same story, different packaging.
What are the mistakes people make with new sod?
The biggest mistake is waiting until the sod looks thirsty before watering. By the time the blades curl, the surface layer may already be too dry for root initiation. The fix is to water on a schedule and adjust with soil checks, not by eye alone.
Another mistake is blasting one zone for 30 to 45 minutes and then skipping the rest of the day. That can create runoff on slopes and airless soil under clay. Better: two or three shorter passes with a 20 to 30 minute gap between them, so the water has time to soak in.
Shade trips people up too. Sod under trees often dries unevenly because tree roots compete for water, and the canopy can block rainfall while still letting wind through. Those spots often need the same frequency as sunlit areas, and sometimes more careful hand-checking.
Walking on new sod too soon is another common miss. Foot traffic can break the weak early root contact and leave depressions that collect water. I’d avoid regular use for at least 2 weeks and limit access even longer if the lawn was installed in hot weather. If you must cross it, use a board or a stepping path.
Don’t keep watering the same amount after the sod has rooted. That can keep the grass shallow-rooted, which makes it easier to scorch in a heat wave. Once the sod is established, the lawn should be able to go longer between soakings.
And don’t ignore sprinkler head failure. A clogged nozzle or a head stuck at the wrong arc leaves one strip dry and another flooded. If a 3-foot-wide band stays different from the rest of the lawn, the schedule may not be the only issue; the distribution is. If the strip stays dry after you adjust run time, check the head, nozzle, pressure, and overlap. Sprinkler repair may be the fastest fix.
When should I stop following the standard watering schedule?
Any time site conditions make the standard schedule the wrong tool. New sod is not a one-size job, and a rigid calendar can do real damage.
Heavy clay soil with puddling after 15 to 30 minutes: the water is not moving down fast enough — switch to shorter cycles with rest periods, and have the grading or soil structure checked if puddles keep forming.
A slope where water runs downhill in under 10 minutes: the water is leaving before it can soak in — use cycle-and-soak watering, with 2 or 3 short runs separated by 20 minutes.
Heat above about 90°F with dry wind: the sod will lose moisture much faster than a mild-day schedule assumes — water earlier in the morning and add an extra short cycle if the surface starts to curl.
New sod installed over compacted fill or construction debris: roots may sit in a shallow layer with poor penetration — a normal schedule may not solve it, and the installation may need correction if roots stall after 2 to 3 weeks.
Shady areas under mature trees: root competition and slower evaporation change the pattern — water those zones based on soil feel, not the same timer used for the sunny front yard.
Sprinklers that leave a dry strip or a half-moon pattern: the problem is coverage, not timing — fix the head, nozzle, or pressure before increasing runtime.
If you’re seeing standing water, foul smells, or sod that lifts easily after 2 weeks, the watering plan may no longer be the main issue. At that point, a local turf installer or irrigation contractor may be the right call, because the cost of a bad first month can be the cost of replacing sections of sod later. For broader lawn troubleshooting, see our lawn care services and drainage solutions pages.
How long does it take for new sod to settle?
Most new sod needs about 2 to 3 weeks to begin rooting well enough that you can reduce watering, but full establishment often takes longer, especially in hot weather or with cool-season grasses. That timeline is not a promise; it depends on turf type, soil prep, and season.
A good result looks like this: after the first week, the sod still feels uniformly moist and does not have obvious dry seams. Around the second week, it starts to resist a gentle lift. By the third or fourth week, it should act more like part of the yard than a loose mat. The blades may still look a bit softer than mature lawn grass, but the turf should not shift underfoot.
Cost matters here because watering new sod can change your water bill in a way people underestimate. The bill depends on local rates, irrigation output, and yard size, so I wouldn’t guess a number. What I can say is that a poorly adjusted system can waste enough water to matter quickly, especially on a quarter-acre or larger lawn.
If you’re hiring the job out, ask the contractor how long they expect the rooting window to be for the specific grass type and month of installation. Ask whether they include a first-week watering plan in writing. Ask what they expect if the sod is laid during a hot stretch or on a slope. A careful installer should be able to answer without hand-waving.
What changes in hot weather, shade, or different sod types?
Hot weather usually means more frequent checking, not just more water. In 85°F to 95°F conditions, new sod can dry fast enough that the surface needs attention twice a day, especially if wind is involved. The morning run matters most; late-day watering is a backup, not the main event.
Shade changes the rhythm too. Less sun can mean slower drying, but tree roots and blocked rainfall can make shaded spots uneven. I wouldn’t assume shade equals low-water needs. It often means, “water the same amount, but verify more carefully.”
Different turf species root at different speeds. Warm-season sod such as Bermuda or zoysia generally wants heat to establish well, while cool-season sod such as fescue or Kentucky bluegrass behaves differently in early spring and fall. The practical takeaway is that the calendar matters. Sod laid in October in a cool climate will not follow the same watering pattern as sod installed in June in the South.
If the yard has sandy soil, water may drain fast and require shorter, more frequent runs at first. If it has heavy clay, the same amount of water may sit at the surface and need cycling. That is why I’d always ask the installer what the native soil is, because soil type changes how you should water new sod during the first few weeks. For more on setup choices, see our soil preparation and sod installation guides.