

Last updated: October 25, 2026
Quick Answer: most sod repair and replacement problems can be solved in 1 to 3 weeks if the roots are still alive and the base is corrected. This guide to Sod Repair and Replacement Problems — The Complete Guide explains how to tell whether a patch needs repair or full replacement, what the damaged turf is signaling, and how to avoid repeating the same failure.
Key Takeaways
- The visible damage is the clue, and the patch edge usually gives the fastest diagnosis.
- Repair is enough when at least half the sod is still alive, the soil underneath is workable, and the problem is localized.
- Correct repair should look seamless from standing height and tight at the edges from a kneeling view.
- A small sod patch is fixed by cutting clean edges, rebuilding the base, and pressing the new piece into moist soil.
Brown seams, sinking patches, and sod that never knits down are usually fixable if the problem is caught early. The right fix depends on what failed first: the soil under the sod, the way the rolls were installed, or the aftercare in the first 2 to 3 weeks. If the roots are still alive, repair is often enough; if the base is wrong or the turf is dead across a wide area, replacement is the safer move. For turf and soil basics, see the USDA Natural Resources Conservation Service and University of California Agriculture and Natural Resources guidance on soil and establishment principles.
What the problem is telling you about the sod
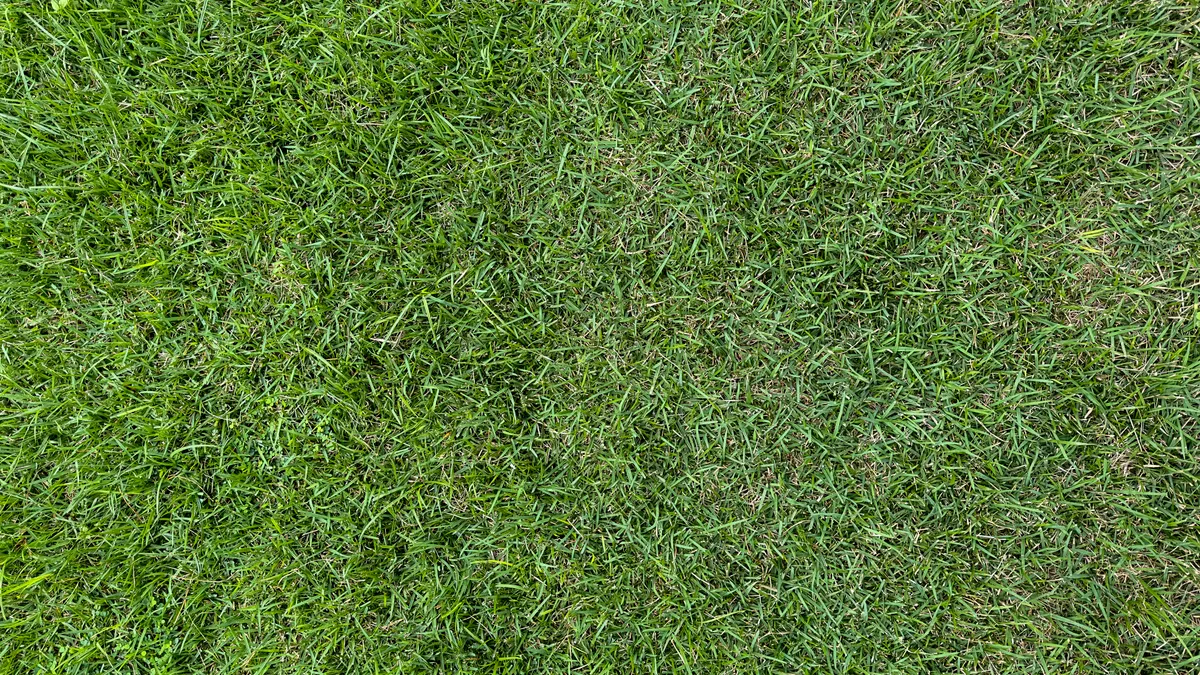
The visible damage is the clue, and the edge of the bad patch usually tells the truth faster than the center. If the sod lifts like a loose rug after 7 to 14 days, the roots probably never connected to the soil beneath. If the turf turns straw-colored but stays tight, drought, heat, or fertilizer burn is more likely. If the area feels spongy, hollow, or dips underfoot, the issue is often grading, compacted fill, or decay in the layer below.
The first correction is to inspect the soil line, not just the grass blades. Peel back one corner and look at the root zone. Healthy sod should show white to cream-colored roots moving into the top 2 to 4 inches of soil. Thin brown roots, a sour smell, or a black slime layer point to waterlogging and rot. Shallow rooting with dry, crumbly soil points the other way: the bed dried out before the roots could grab.
Here is the simplest field check before any repair decision, but if you are unsure, consult a lawn or extension professional and use local university guidance such as University of California Agriculture and Natural Resources or the USDA NRCS:
| What you see | Likely cause | Best next move |
|---|---|---|
| Sod lifts easily after 1 to 2 weeks | Poor soil contact | Roll, topdress, re-water, or re-lay |
| Yellowing with tight turf | Heat stress, nitrogen burn, drought | Reduce stress, water deeply, wait for regrowth |
| Mushy, dark, or smelly soil | Overwatering, drainage failure | Fix drainage, remove damaged sod, reset base |
| Raised edges or bumps | Bad grading, root mat, debris | Regrade and reset the surface |
| Bare seams only | Shrinkage, poor cuts, dry edges | Fill seams and overseed or patch |
The mistake most people make is treating every ugly patch the same. A dead-looking area is not always dead, and a patch that fails because the installer skipped soil prep can be rescued in a few hours; a patch killed by a buried clay pan will keep failing until the base changes. See also the USDA NRCS soil health resources and NC State Extension turf guidance for soil and turf basics.
How to tell whether repair is enough or replacement is the better call
Repair is enough when at least half the sod is still alive, the soil underneath is workable, and the problem is localized to seams, corners, or a few damaged runs. Replacement is the better call when the roots are dead across wide areas, the soil is contaminated or compacted through the full strip, or more than one-third of the installed sod has failed in the same pattern.
This is the decision point that saves the most money and the most frustration. Patching a broad failure usually means paying twice: once for the patch and again for the inevitable redo. The visual cue matters here. If the damage follows a single sprinkler arc, a dog path, or a strip at the driveway edge, repair is usually enough. If the whole lawn has the same weak color, poor rooting, and soft lift, the issue is systemic.
- Check root strength. Tug up a corner. What to check: roots should resist and run into the soil. What not to do: do not judge by leaf color alone.
- Probe the soil depth. Push a screwdriver 4 to 6 inches into the bed. What to check: moderate resistance and no standing water. What not to do: do not install on a hard, sealed subgrade.
- Measure the damaged area. Map the patch in square feet. What to check: one isolated patch is repair territory; repeated patches suggest a base problem. What not to do: do not guess the size and buy random extra sod.
- Look for a pattern. Check sprinkler coverage, shade, pet traffic, and downspout discharge. What to check: one cause, not five. What not to do: do not repair before the cause is identified.
- Inspect seam movement. Step lightly on the edges of the failed area. What to check: settled seams or lifted edges. What not to do: do not bury high spots with thick topsoil over the blades.
- Test drainage after watering. Run sprinklers for 10 to 15 minutes and watch. What to check: water should soak in, not pool. What not to do: do not keep adding water to a saturated area.
- Choose the fix based on root life. Healthy roots mean repair; dead roots over a wide span mean replacement. What to check: white roots and firm soil versus brittle stolons and blackened roots. What not to do: do not salvage turf that has already rotted through.
A small patch repair can be done with a 1-by-2-foot piece or even a hand-sized plug. A replacement job is usually justified once damage starts to cross seams, follow a drainage line, or show up in repeating strips. That is the key judgment: fix the cause first, then decide whether the turf itself is still worth saving.
What a correct sod repair looks like from the top and the side
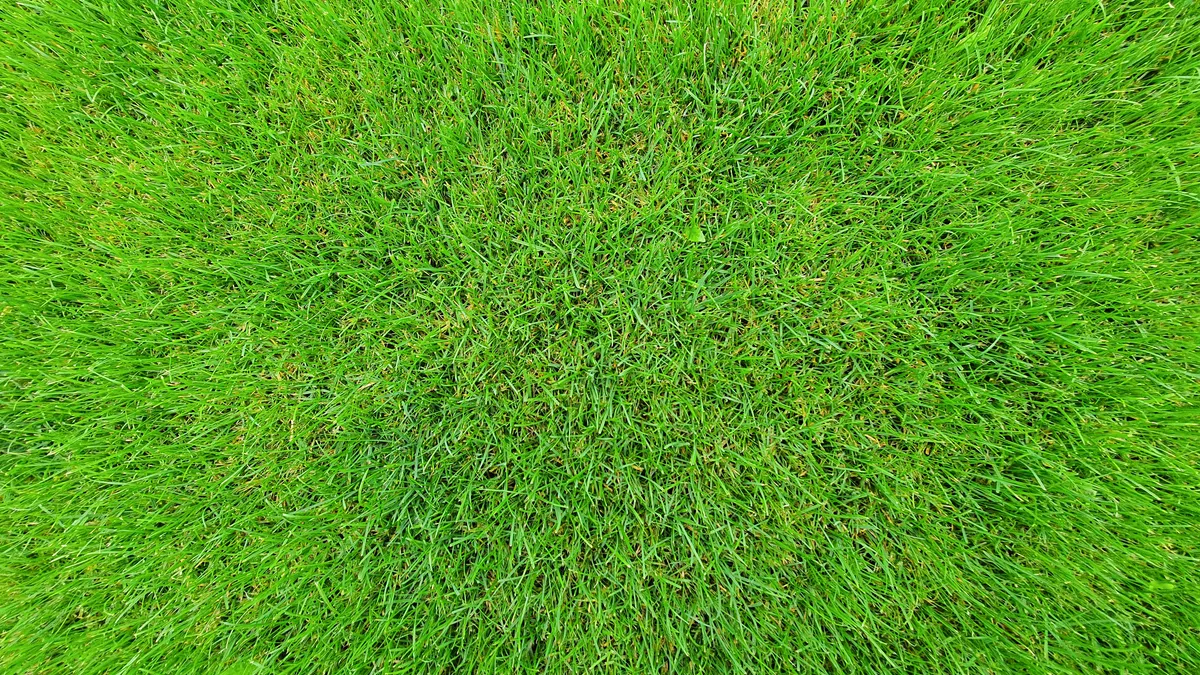
Correct repair looks invisible from standing height and tight at the edges when viewed from a kneeling position. The surface should sit flush with the surrounding lawn within about 1/4 inch, the seams should be closed but not piled, and the repaired area should feel firm underfoot after watering. If the area dips, bounces, or dries faster than the rest of the lawn, the repair is not finished.
The side view matters more than most people think. A proper patch is a layered match: soil below, roots in the middle, blades above. The key here is the root zone — notice how the sod sits on loosened soil, not on compacted clay or a fluffy mound. This is what separates a repair that knits in 2 to 3 weeks from one that dries out at the edge and fails again.
| Feature | Correct look | Incorrect look |
|---|---|---|
| Surface height | Flush with surrounding grade | Sunken or raised more than 1/4 inch |
| Seam width | Tight and closed | Open gaps wider than a finger |
| Soil contact | Full contact under the roll | Air pockets, bridging, or hollow spots |
| Rooting | Resistance after 1 to 2 weeks | Lifts like loose carpet |
| Moisture | Evenly damp, not soggy | Dry at the edges or wet and slimy below |
The visual test is simple: after a light watering, the repaired area should darken evenly, not in blotches. Blotchy darkening often means the soil is uneven in density or the patch thickness is inconsistent. A good repair also blends at the perimeter; the neighboring turf should not form a lip over the patch. If it does, the new piece was set too high or the old lawn was not trimmed back cleanly.
The correct way to repair a small sod patch — step by step
A small sod patch is repaired by cutting clean edges, rebuilding the base, and pressing the new piece into full contact with moist soil. The job is straightforward, but each step matters because sod fails fastest when the base is sloppy.
- Cut out the damaged area squarely. What to check: straight edges and a uniform shape, usually a rectangle or square. What not to do: do not leave ragged curves that are hard to fit tightly.
- Remove dead grass and loose thatch. What to check: the old layer should be gone down to firm soil. What not to do: do not lay new sod over dead grass.
- Loosen the top 2 to 4 inches of soil. What to check: the base should break up easily with a rake or hand tool. What not to do: do not install over hardpan or compacted fill.
- Add a thin layer of screened topsoil or compost mix. What to check: enough material to level the patch, often less than 1 inch. What not to do: do not build the patch high above surrounding grade.
- Set the replacement piece tight to the edges. What to check: seams should touch with no visible gap. What not to do: do not overlap the sod or leave it short by more than 1/2 inch.
- Press the piece into contact. What to check: the sod should feel seated, not floating. What not to do: do not stomp it hard enough to crush the crown.
- Water immediately and evenly. What to check: the soil beneath should be damp through the full patch. What not to do: do not flood the area to the point of runoff.
- Check the patch daily for 7 to 10 days. What to check: lifted corners, dry seams, or shrinkage. What not to do: do not ignore a corner that curls up after the first hot afternoon.
A well-done patch often uses a piece cut slightly oversized, then trimmed flush with a sharp knife. That detail helps the seams close as the sod settles. The repair should not be buried under a thick layer of soil; the grass crown needs light and air. If the patch is in a high-traffic spot, keep foot traffic off it for roughly 2 weeks so the roots can anchor.
Why sod replacement fails even when the grass looked healthy
Replacement fails when the old problem was in the base, not the grass. A new roll on bad soil is still a bad lawn. The most common causes are compacted subgrade, wrong soil height, poor drainage, and skipped watering during the first 10 to 21 days. Sod is sold as finished turf, but it behaves like a transplant. It needs the soil beneath it to act like a nursery bed.
The classic failure pattern is easy to spot. The top stays green for a week or two, then the edges dry first, then the whole piece loosens. That is not a mystery disease. It is usually one of three things: roots never reached the soil, water never reached the roots, or the water sat there and rotted them. A 1-inch layer of loose topsoil over hard clay can feel generous, but it often creates a perched water zone that stays wet at the top and dry underneath.
A second common failure is grade mismatch. If new sod is set even 1/2 inch too high, the mower scalps it later. If it is set too low, rainwater pools and the edges sink. A third failure is impatience: walking on a newly laid lawn before the roots have knitted. That can shear the root zone and leave the sod with tiny invisible breaks that show up later as dead lines.
If the entire area is failing and the soil is bad, replacement means more than swapping grass rolls. It means stripping the dead turf, correcting drainage, reworking the top 4 to 6 inches of soil, and then laying new sod only after the base is right. Skipping any of those steps usually turns the same problem into a repeat purchase.
What the replacement bed should look like before the new sod goes down
The bed should look smooth, firm, and slightly loose at the surface, with no roots, rocks, or old turf mats left behind. A good replacement bed is not fluffy like potting mix and not hard like a driveway shoulder. It should accept a shovel easily in the top few inches, but still hold shape when walked on lightly.
The visual target is a flat plane that follows the intended drainage, usually away from the house and toward a safe outlet. The bed should not have humps over buried debris or saddles where water will sit. The key here is the grade line — notice how the surface falls in one direction with no sudden dips. This is what keeps water moving without eroding the seams.
| Bed check | Target condition | Why it matters |
|---|---|---|
| Surface texture | Crumbly in the top 1 to 2 inches | Helps roots bridge into the soil |
| Compaction | Firm underfoot, not sealed | Prevents air pockets and poor rooting |
| Debris | No sticks, stones, or old roots | Avoids bumps and dead zones |
| Grade | Even slope with no puddling spots | Prevents rot and washout |
| Moisture | Damp, not muddy | Helps roots start without suffocating |
Before installation, the bed should be watered enough to be moist several inches down, not soaked. That distinction matters because bone-dry soil can pull moisture out of the sod too fast, while muddy soil prevents root contact. If a straightedge laid across the surface rocks back and forth, the bed still needs correction. A lawn that starts uneven usually stays uneven, because mowing and settling magnify small errors.
How to keep repaired or replaced sod from failing again
The safest aftercare is simple: water deeply, avoid traffic, and wait for rooting before mowing. For the first 7 days, the goal is surface moisture that reaches the root zone without creating standing water. After that, the goal shifts toward less frequent but deeper watering so roots chase moisture downward. A mower usually should not touch the new lawn until the sod is anchored enough that a corner cannot be lifted with gentle finger pressure.
The first month is where most lawn failures are decided. Heat, wind, and sun can dry a fresh install fast, especially on exposed edges and south-facing areas. Shaded spots dry more slowly, but they can rot if they stay wet too long. That means the watering pattern should match the site, not a fixed habit. If one area dries out first, it will usually show curling edges and a dull gray-green tone before the rest of the lawn does.
- Water immediately after installation. What to check: the soil beneath should be moist through the root zone. What not to do: do not wait until the next day in hot weather.
- Inspect the edges morning and evening for the first week. What to check: curling, shrinkage, or pale seams. What not to do: do not assume the center tells the whole story.
- Adjust watering to the weather. What to check: wind, sun, and rainfall each day. What not to do: do not use the same schedule during a cool week and a hot one.
- Keep foot traffic off the area. What to check: no stepping, dragging hoses, or turning wheelbarrows on the new turf. What not to do: do not let one shortcut create a depressed track.
- Wait to mow until the sod is anchored. What to check: gentle tug resistance. What not to do: do not mow too low or with a dull blade.
- Watch for fertilizer or herbicide burn. What to check: yellow tips, striping, or scorched edges after application. What not to do: do not feed stressed sod too heavily at once.
- Fix drainage and irrigation defects early. What to check: pooling after rain or dry strips from sprinkler gaps. What not to do: do not treat symptoms while leaving the water pattern wrong; consult a professional if the irrigation layout or grading is unclear.
This is also the point to admit a hard truth: some lawns are not worth repeated rescue. If the site has chronic shade, shallow soil, poor drainage, or constant pet traffic, another patch may fail in the same place. In that case, the better choice may be a more shade-tolerant grass type, a smaller turf area, or a different ground cover altogether. Sod repair is a fix, not a promise.
When to call a pro, and when the fix is a bad fit for a DIY repair
A pro is worth calling when the damage covers more than a few square yards, the grade needs correction, or irrigation and drainage both need attention. Those jobs involve soil preparation, slope control, and sometimes equipment that a homeowner does not keep on hand. If the problem sits against a foundation, near a retaining wall, or beside a buried utility line, the risk of getting the grade wrong is high enough to justify expert help.
A DIY repair is a good fit for a small dead patch, a few loose seams, or a single damaged corner where the base is otherwise sound. It is a bad fit when the whole lawn has a settlement pattern, when water pools for more than a few minutes after irrigation, or when the sod repeatedly dies in the same strip. In those cases, the visible grass is only the symptom.
The best decision rule is this: if the fix requires more than cutting, leveling, and resetting a limited area, stop and reassess. A repair that takes 30 minutes of careful work can be wise; a repair that keeps failing after 2 or 3 attempts is a sign that the site, not the sod, is the problem. That is the line between maintenance and reconstruction.
For standards and planting guidance, two useful references are the USDA Natural Resources Conservation Service for soil and drainage principles and the University of California Agriculture and Natural Resources for turf establishment guidance. Those sources won’t make the site prettier by themselves, but they help confirm the basics: good soil contact, proper moisture, and a stable grade are the foundation of every successful sod repair.
Drafted with AI; not yet reviewed by a person.