Last updated: September 10, 2026
Key Takeaways
- Loosen the top 2 to 4 inches of soil.
- Dig a small hole about 6 to 8 inches deep, fill it with water, and watch how fast it drains.
- Mix amendments into the top 3 to 4 inches instead of leaving a soft layer on top.
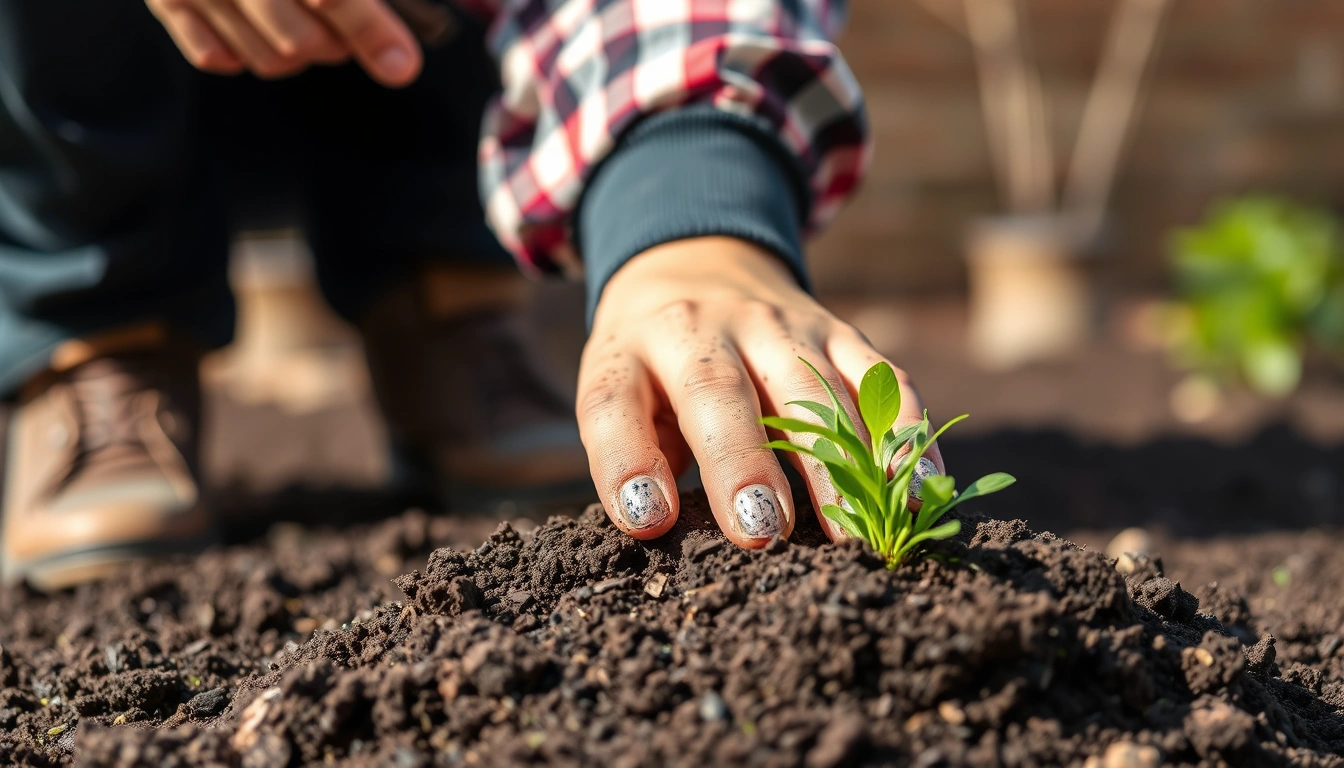
- A good sod base is smooth, slightly firm, and loose enough in the top 2 to 4 inches for new roots to enter the soil.
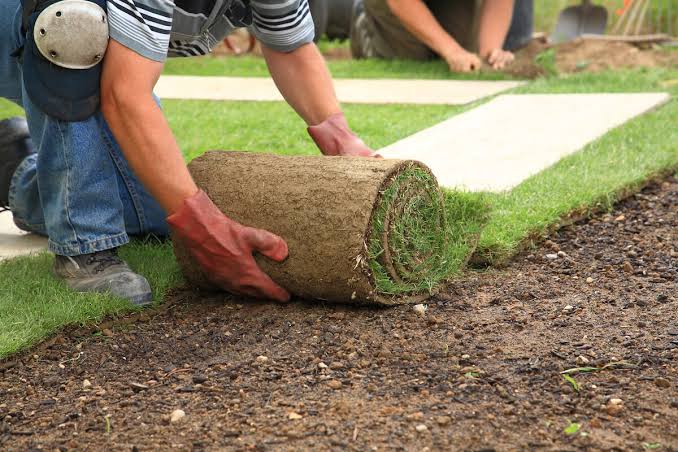
Sod roots quickly only when the ground is ready. Clear the site. Fix the grade. Break up the top layer, deal with obvious drainage trouble, and leave behind a surface that is firm, moist, and smooth — not airy or spongy. For homeowners and property managers deciding whether to hire a lawn contractor, landscape installer, or grading crew, this guide on how to prepare soil for sod installation gives the practical answer. For how to prepare soil for sod installation, the goal is a base that supports rooting, drainage, and a level finish.
Table of Contents
- Who this is for — and who should do something else
- What a good sod base actually needs
- How do I prepare soil for sod installation?
- What should I ask before I hire someone to prep a yard for sod?
- What mistakes do people make before sod goes down?
- When does standard prep not apply?
- How long does soil preparation take, and what does a good job look like?
Who this is for — and who should do something else
This fits a yard that will get sod over existing soil, not over construction debris, buried concrete, or a soil profile that is collapsing after rain. It assumes you already know the basic layout of the area, have measured the square footage, and know whether the site is full sun, shade, or a mix. One trade-off sits underneath all of it: sod is fast, but it will not fix lousy soil. So if the ground is compacted, standing water collects after a 1-inch rain, or the finish grade is off by a couple of inches, the problem will just hide for a few weeks.
Honestly, I would treat this as a service job, not a weekend guessing game, when the yard needs regrading, when there are sprinkler heads to adjust, or when you suspect more than about 2 to 3 inches of poor soil has to be replaced. Consult a professional if the yard needs regrading or drainage correction; the USDA NRCS notes that surface and subsurface drainage problems can require more than simple topdressing, and site-specific conditions matter. New construction lots are especially tricky because subsoil is often scraped thin and packed hard, and clay-heavy areas can sit wet for hours after irrigation. If the soil is already loose, drains properly, and only needs cleaning and leveling, a homeowner can often manage the prep. If a drainage correction would require moving soil to change slope, that is where a grading contractor earns the money.
A generic article would tell you to “prepare the soil” and stop there. Not enough. Sod usually fails because the base is uneven, too hard, or too dry at install. A decent installer should be talking about depth, slope, compaction, and soil contact, not just about “freshening up” the ground. That’s the real test.
What a good sod base actually needs
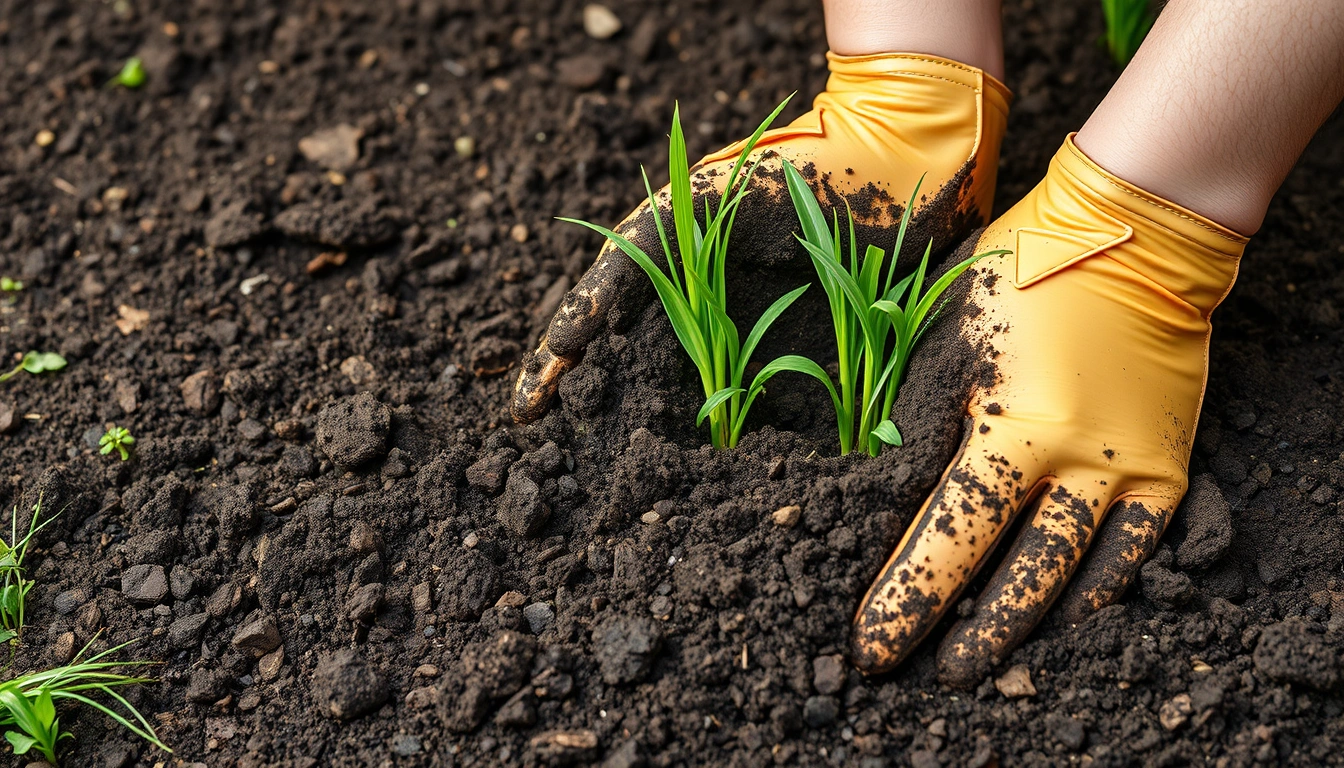
A good sod base is smooth, slightly firm, and loose enough in the top 2 to 4 inches for new roots to enter the soil. Simple on paper. Trickier in practice. The surface should fall away from the house at roughly 1/8 to 1/4 inch per foot, which moves water without making the yard feel sloped. Low spots deeper than about 1/2 inch will hold water and become soft underfoot; high spots may not seem like a big deal until the sod dries unevenly and the mower catches the ridge.
Compaction matters more to me here than perfect soil “richness.” Sod roots need contact with mineral soil, not a thick layer of loose compost that settles later. A thin soil amendment — often 1/2 inch to 1 inch of screened compost mixed into the top few inches — can help on tired or sandy ground, but too much organic matter creates a soft layer that shifts underfoot. The USDA NRCS recommends using soil tests and matching amendments to the existing profile, because a richer-looking surface is not automatically a better rooting base if it sits between the sod and the firm soil below. Soil can look fancy and still behave like a pillow.
Before laying sod, the finish should let you press with your foot and leave a shallow impression, not a deep boot print. If your footprint sinks more than about 1/2 inch, the ground is probably too soft. If it feels like pavement, it is probably too compacted. Either one slows rooting. A contractor should be able to explain how they plan to land in that middle zone, especially if the site has clay, fill dirt, or builder’s debris.
In most markets, preparation is a separate line item from the sod itself. For an average residential yard, soil prep can cost less than the sod or more than the sod, depending on grading and haul-away. A simple clean-and-level job may take a day; a site that needs excavation, imported fill, and drainage correction can take several days before the first roll goes down. The cost per square foot often rises when the crew has to haul soil, reset irrigation, or import screened topsoil.
How do I prepare soil for sod installation?
You prepare soil for sod installation by clearing, grading, loosening, amending only what needs it, and then firming the surface so the sod sits flat with full contact. Here is the sequence I would expect a competent crew to follow.
- Remove all old turf, weeds, rocks, and debris. Strip out vegetation and anything larger than about 1 inch across, including sticks, construction scraps, and buried trash. The surface should be bare mineral soil, not a mat of roots or dead grass. If you can still see patches of old sod or clumps that spring back when stepped on, the cleanup is incomplete and the new sod will sit unevenly.
- Set the finished grade before adding soil. Establish slope away from structures at roughly 1/8 to 1/4 inch per foot. Check that doors, edging, downspouts, and walkways will still clear the new grade. If raising the lawn would block siding, cover vents, or bury a patio edge, stop and change the plan before you build the surface too high.
- Loosen the top 2 to 4 inches of soil. Use a tiller, rake, or shovel depending on the size of the area. Break up clods so the largest pieces are smaller than a fist, and remove buried roots or rocks as you go. The soil should be cut with a hand trowel rather than bouncing off a hard crust. If the tiller just skips across the top, compaction is still there and sod roots will struggle to penetrate.
- Test drainage in the problem spots. Dig a small hole about 6 to 8 inches deep, fill it with water, and watch how fast it drains. A hole that still holds water after several hours signals a drainage issue that soil prep alone will not solve. Make sure low areas are corrected before sod arrives; otherwise, you are planting into a future puddle.
- Add topsoil or compost only where the site needs it. Spread screened topsoil to build grade, or a light compost layer of about 1/2 inch to 1 inch if the native soil is poor. Mix amendments into the top 3 to 4 inches instead of leaving a soft layer on top. Do not create a distinct “fluffy” layer over hard soil, which causes settling and uneven rooting.
- Rake the surface until it is smooth and even. Use a landscape rake or leveling rake to remove ridges, footprints, and dips larger than 1/2 inch. Check the finish with a straight board or long level across several directions. If the board rocks, you still have highs and lows that will show through the sod.
- Firm the soil lightly, then recheck the grade. Walk the area with flat steps or use a water-filled roller if the site is large enough. The goal is to settle loose soil, not crush it into a slab. The surface should give slightly underfoot but not sink deeply. If your footprints remain deep, the base is too soft and should be re-raked and compacted again.
- Water the prepared soil lightly before installation. Moisten the top layer so it is damp, not muddy. In hot weather this may mean watering 30 to 60 minutes before laying, depending on soil type and wind. Make sure the surface is cool and slightly damp when sod arrives. If water pools or sheen appears on top, the soil is too wet and the sod will slide or rot at the seams.
A contractor should be able to explain why they are using topsoil, not just dumping it. On many jobs, 1 to 2 cubic yards of screened topsoil is enough for a small repair area, but a full yard installation may require far more. The right amount depends on the existing grade, not a fixed bag count. If someone talks only in “a few wheelbarrows” and never mentions slope or compaction, that is a warning sign. Smoke and mirrors. Not a plan.
What should I ask before I hire someone to prep a yard for sod?
Ask how they will handle grade, soil depth, drainage, and cleanup, not just how quickly they can lay the sod. A good answer includes measurements. I would want to hear a plan for slope away from the house, a description of how deep they will loosen or replace the topsoil, and whether they will reset sprinkler heads, edge the lawn, or haul away debris. If a contractor cannot tell you whether they are working with the top 2 inches or the top 6 inches, they are probably improvising.
Also ask whether the estimate includes stripping old turf, importing screened topsoil, leveling, and final rolling. Those are separate tasks in many jobs, and a low price may only cover the visible part. Cost often rises when access is tight, when a wheelbarrow has to cross a long side yard, when the lot is steep, or when the crew must work around irrigation lines. A flat, open rectangle is cheaper to prep than a backyard with retaining walls and mature trees.
Ask what they do when the soil is too wet or too dry. That matters because a crew that installs on muddy soil or dust-dry clay can ruin the surface before the sod even arrives. A serious installer should be willing to delay by a day or two if conditions are wrong. I would rather hear, “We need to wait until the grade firms up,” than, “We can make it work.”
And ask what the finished yard should look and feel like. The right answer is usually smooth, slightly firm, and even with a gentle fall for drainage. The wrong answer is “nice and fluffy.” Fluffy soil settles. Settled soil leaves seams, dips, and edge gaps that dry out the sod.
What mistakes do people make before sod goes down?
The expensive mistakes are usually the invisible ones made in the prep phase. They do not show up until the sod starts lifting at the edges or the lawn develops humps after the first watering cycle.
-
Skipping grade work because the yard “already looks level.” The consequence is puddling in low spots and dry ridges on high spots. The correct move is to check with a straight board, string line, or laser and fix slopes before installation.
-
Leaving the soil too loose. The consequence is settling after the sod is laid, which creates seams, wrinkles, and soft spots. The correct move is to firm the soil lightly and recheck the surface before delivery.
-
Overusing compost or topsoil. The consequence is a soft, settling layer that roots poorly and shifts underfoot. The correct move is to mix thin amendments into the top few inches and keep the final layer stable.
-
Installing over wet, muddy ground. The consequence is smearing the soil, sinking the sod, and sealing off oxygen to the roots. The correct move is to wait until the surface is damp but workable.
-
Ignoring buried debris. The consequence is dead patches, raised humps, and damage to mower blades later. The correct move is to rake and inspect before a single roll is opened.
-
Forgetting irrigation height. The consequence is sprinkler heads buried too deep or left too high, which means poor coverage and mower damage. The correct move is to reset heads to the final grade before sod goes in.
These mistakes are easy to miss because the lawn looks “done” on day one. That is why I judge prep by the base, not the photo.
When does standard prep not apply?
Standard prep does not apply when the yard has drainage failure, severe compaction, or contaminated fill. If water sits longer than a few hours after rain in the same place, soil prep alone will not fix it; the grade or drainage path has to change. If the site is hard enough that a shovel barely bites into the top 2 inches, you may need mechanical loosening or import soil rather than a light rake-and-go approach. If the area was built on rubble, brick fragments, or unknown fill, the top layer may need to be removed and replaced.
It also changes in clay soils and sandy soils. In heavy clay, I would be more cautious about overworking wet ground, because it turns to paste and seals shut. In sand, the issue is often the opposite: the ground may drain too quickly and need organic matter blended into the top layer to hold moisture. On slopes, erosion control matters before installation. In hot, windy weather, prepared soil can dry in an hour or two, so sod should arrive the same day the base is finished.
This is the point where the cheapest bid is often not the right bid if the proposal does not account for drainage correction, soil import, or sprinkler adjustments. That is a problem for anyone who expects the sod to root and survive the first season.
How long does soil preparation take, and what does a good job look like?
Soil preparation usually takes from part of a day to several days, depending on yard size and corrections needed. A small, straightforward front lawn may be ready the same day if the soil is already decent and the old turf comes up cleanly. A larger property with grading changes, debris removal, or imported topsoil can take longer, especially if the crew has to wait for a dry surface. Sod itself should go down soon after prep is finished, ideally the same day, because exposed soil dries, crusts, and erodes.
A good job looks boring in the best way: no puddles, no sharp ridges, no visible trash, no soft sinkholes, and no abrupt changes in height at walkways or beds. If you can drag a board across the surface and it does not catch, that is a useful sign. If the prepared soil feels firm enough to walk on without deep footprints, yet still has a shallow give, that is the kind of base that supports sod installation and helps roots establish.
Leave a Reply