Last updated: September 10, 2026
Key Takeaways
- That kind of failure usually starts in the first 48 hours, not months later.
- The first 7 to 14 days matter most.
- Another common failure is heat stress from delayed installation.
- It also applies if you are comparing bids and want to know what a fair installation should include.
Bad seams, weak grading, poor timing, and sloppy watering can ruin a fresh lawn fast; they leave dead lines, roots that never knit, and a bill for rework. So this guide on common sod installation mistakes and how to avoid them is aimed at a homeowner or property manager who is weighing a local sod installer against a quote, and it assumes you already know the basics: sod is cut turf laid over prepared soil, and it needs immediate water and close contact with the ground. Got drainage problems, standing water, a steep slope, compacted clay, irrigation that needs redesign, or a lot of tree roots already in place? That is where a rushed DIY job or the lowest bid tends to blow up first.
Who this applies to — and who should do something else
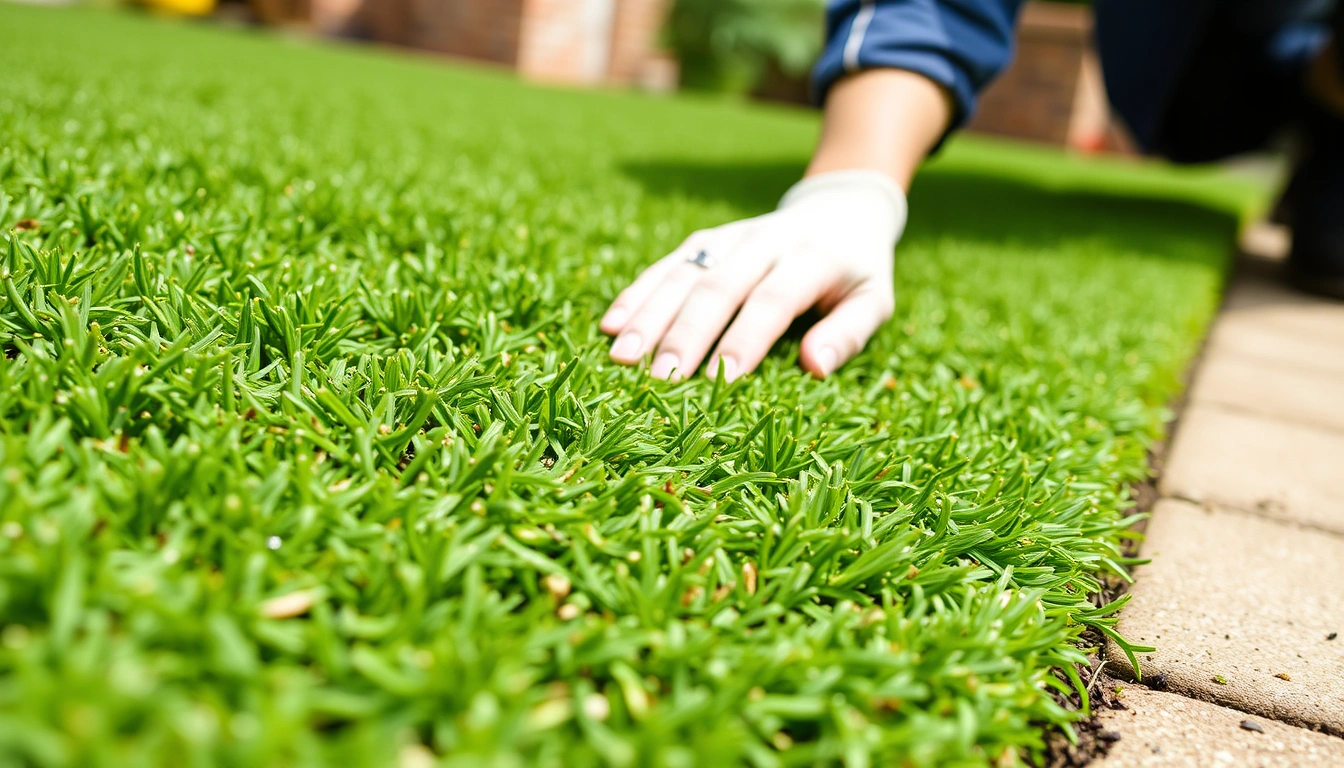
This guide on common sod installation mistakes and how to avoid them applies to anyone getting sod installed on a typical residential lawn, townhouse yard, rental property, or small commercial strip where the goal is fast ground cover and a clean finish. It also applies if you are comparing bids and want to know what a fair installation should include. A good sod job is not just “roll it out and water it”; it is soil preparation, grade correction, tight seams, and a watering plan for the first 2 to 3 weeks.
Not every site fits that simple formula. If the yard stays muddy after rain, the soil is heavily compacted, the slope falls hard toward a foundation, or the lawn area gets heavy foot traffic from day one, the standard method needs modification. In those cases, the price is usually higher because the job needs more grading, import soil, or drainage work. Cheap can be false economy here. A bare-minimum sod install in a flat, accessible yard can be the cheapest path, but that is only true when the site really is simple. A difficult site can cost meaningfully more because the labor is in the prep, not the turf.
I’d judge a contractor partly by what they refuse to skip. If someone says the soil “looks fine” without talking about grade, topsoil depth, irrigation coverage, or how they will handle edges, that is a warning sign. A sloppy install often shows up as raised seams, soft spots, turf shrinking back from sidewalks, or patches that never root. That kind of failure usually starts in the first 48 hours, not months later.
If you are trying to decide who to call, ask for the square footage, the prep steps, what soil they plan to add, and whether sod is harvested and installed the same day. A quote that does not separate labor, delivery, demolition, soil amendment, and cleanup is hard to judge.
What a good sod installation actually requires
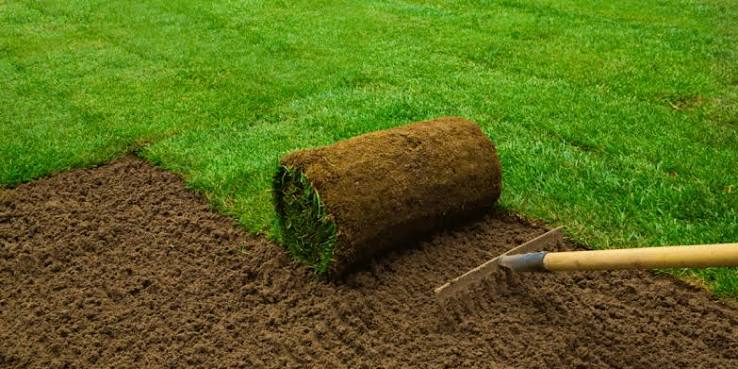
A good sod installation requires level, firm soil, correct grade away from structures, tight seams, and water on the turf within minutes, not hours. “Grade” means the shape and slope of the soil surface. You want water to move away from foundations and low spots, while still leaving the lawn walkable and visually even.
Here is the core sequence I would expect from a careful installer:
- Clear the area to bare soil. Remove existing grass, weeds, rocks, and construction debris, then strip the top layer deeply enough to eliminate mats of old roots; verify that nothing spongy remains underfoot, and watch for a surface that feels springy or uneven, which means old turf was not fully removed.
- Check and fix drainage before laying sod. Shape the soil so it falls away from the house by about 1 to 2 percent—roughly 1/8 to 1/4 inch per foot—then verify that no puddles form after a light hose test; standing water means the grade is wrong and should be corrected now, not after the sod is down.
- Loosen and improve the top layer. Till or cultivate the upper 3 to 4 inches where the soil is compacted, then mix in topsoil or compost only if the native soil is thin or poor; verify that the root zone is friable, not rock-hard, and if a shovel bounces or the soil comes up in plates, compaction is still a problem.
- Set final grade before delivery day ends. Rake the surface smooth, remove high spots, and fill low spots so the finished lawn is within about 1/2 inch of level across small areas; if you are unsure whether the surface is truly ready, consult a local landscaping professional before the sod goes down. Verify with a straight board or string line, and treat dips deeper than about 1 inch as a problem because they collect water and create soft turf. University of Minnesota Extension: sod establishment
- Install the sod tightly and in a staggered pattern. Lay rolls or slabs in brick-like offsets, not straight seams aligned across the yard, and butt edges together without overlap; verify there are no gaps wider than about 1/4 inch, because open seams dry out and invite shrinkage.
- Cut edges cleanly around beds, walks, and fixtures. Use a sharp knife or sod cutter to trim against concrete, curbs, and planting beds, then press the edges flush; verify there are no lifted corners or exposed soil strips, which usually become dry seams or weed lines.
- Roll the lawn to seat the roots. Use a lawn roller only enough to press sod into the soil, not compact it hard; verify the turf feels flat and well-contacted without sinking underfoot, and if the surface turns muddy or compressed, the roller was too heavy or the soil was too wet.
- Start irrigation immediately and evenly. Water long enough to wet the sod and the soil beneath it, often in 2 to 3 light cycles on day one rather than one long soak; verify the first inch of soil is moist, not puddled, and if water runs off or pools, the application rate is too high for the grade or soil texture.
That list sounds basic. It isn’t. The turf itself is only half the product. The other half is the soil surface it lands on.
A professional quote should usually reflect several variables: square footage, soil condition, access to the yard, removal of old lawn, delivery timing, and whether a topsoil layer is being added. In many local markets, a simple sod install may be priced by the square foot, while prep work and soil correction are priced separately. If a quote seems unusually low, I would ask what is excluded. The United States Department of Agriculture notes that soil properties and site preparation affect turf establishment, and sod vendors typically specify same-day installation for living turf; both are worth checking before you sign. USDA NRCS: soil quality for turfgrass and landscapes University of Georgia Turfgrass Extension
Why sod fails even when it looks fine on day one
Sod fails when it is laid on the wrong surface, watered inconsistently, or installed too slowly after delivery. The common trap is that the lawn can look finished for a week while the roots are still sitting on a bad foundation.
The biggest hidden mistake is shallow root contact. If the soil below the sod is dusty, lumpy, or compacted, the roots do not knit into it well. The lawn may stay green for a short time from stored moisture, then turn patchy when the top layer dries. Another common failure is heat stress from delayed installation. Sod is living plant material; if it sits stacked too long in sun or warm weather, the edges dry and the rolls heat up. That is a real risk in summer jobs where delivery and installation are not tightly scheduled. Ugly on day one can turn ugly twice as fast in July.
The wrong watering pattern causes a different kind of damage. A lot of people overwater the surface and still miss the soil underneath. That leaves the sod wet on top but dry below. The result is weak rooting and a lawn that shifts when walked on. On the other hand, brief misting without enough soak leaves the new turf thirsty by afternoon. The first 7 to 14 days matter most. A good installer should talk about watering frequency by weather, soil type, and sun exposure, not give a single canned schedule. Penn State Extension: establishing a new lawn
I also watch for seam failure. If seams are gapped or placed in long straight lines, they dry out first. You see that as brown joints, uneven settling, and shrinkage between pieces. The lawn may still survive, but it will not look like one continuous surface.
If a contractor tells you the lawn “will settle itself out,” I would treat that as a warning. Sod can settle a little. It cannot fix bad grading, missing soil, or poor seam layout, so you should consult a professional or ask for the issue to be corrected before installation.
What mistakes people actually make, and what they cost
The most expensive mistakes are the ones that force rework in the first month. A bad sod job does not usually need “repair”; it often needs partial removal and a second round of prep.
-
Skipping soil prep.
Consequence: the turf roots into a hard crust instead of the ground below, so it dries out and moves underfoot.
Correct alternative: spend the time and money on clearing, loosening, and correcting grade before any sod arrives. -
Installing over low spots or trench marks.
Consequence: water collects, the sod stays saturated, and those areas soften or rot faster than the rest of the lawn.
Correct alternative: fill and level depressions first, especially near downspouts, walk edges, and old utility cuts. -
Using a straight seam pattern.
Consequence: long seams open as the sod shrinks, making the whole yard look striped and patched.
Correct alternative: stagger joints like brickwork and keep pieces tight edge to edge. -
Letting sod sit too long before laying.
Consequence: rolled turf overheats, edges brown, and thin spots appear even if watering starts later.
Correct alternative: schedule delivery for the same day as installation and keep rolls shaded if they must wait briefly. -
Watering by guesswork.
Consequence: the top stays damp while the root zone stays dry, or runoff washes soil away from edges.
Correct alternative: water until the soil beneath the sod is moist, then adjust for heat, wind, and soil texture. University of Minnesota Extension: watering lawns -
Ignoring access and cleanup in the estimate.
Consequence: surprise charges, rushed labor, or a crew that cuts corners to stay on budget.
Correct alternative: get the quote in writing with disposal, prep, delivery, and cleanup separated.
A bad job also looks bad in specific ways: seams you can see from the driveway, edges that curl at sidewalks, soft spots after the first irrigation cycle, or discoloration that starts in strips rather than patches. Those are not cosmetic quirks. They are clues that the base was wrong.
When should you stop and call for a different plan?
You should stop the standard sod plan when the site has conditions that make rooting or drainage unreliable. In those cases, the right move is usually more prep, a different ground-cover choice, or a contractor who can solve the site problem first.
Standing water remains 24 hours after rain: That means the grade or drainage is wrong — Do not lay sod until the water path is corrected, because the turf will sit wet and fail in those low spots.
The soil is heavy clay and turns slick when wet: That means compaction risk is high — Ask for mechanical loosening, amendment, or a more substantial soil rebuild, because surface raking alone will not create rooting depth.
The lawn is sloped enough to wash soil away during watering: This means runoff will steal moisture and move the base — Use shorter watering cycles, erosion control, or terracing rather than a standard soak schedule.
Tree roots cover much of the planting area: That means the sod will compete for water and may not root evenly — Reduce expectations, adjust irrigation, or consider a shade-tolerant ground cover where deep rooting is unrealistic.
You need the lawn open to heavy foot traffic in less than 2 to 3 weeks: That means the turf may be damaged before it knits — Delay traffic or use a different surface, because fresh sod is not ready for abuse on day 3.
There is no practical irrigation access: That means the sod cannot be kept alive through establishment — Add watering capability first or do not install sod yet.
This is also where local conditions matter. In hot, dry regions, sod often needs more frequent early watering. In cool, humid regions, drainage and disease pressure matter more. If your area has watering restrictions, a contractor should explain how that affects establishment before the job begins.
How long does sod installation take, and what should a good bid include?
A straightforward sod installation often takes 1 day for a small yard and 2 to 3 days for a larger or more complex property, but prep can add time fast. If the site needs old turf removal, grading, topsoil, or irrigation adjustments, the job can stretch longer. The turf itself should not sit on the truck or in the driveway for long. That time window matters more in hot weather than in cool weather.
A good bid should include square footage, removal of existing lawn if needed, soil prep, sod type, delivery timing, irrigation expectations, and cleanup. It should also spell out what happens if hidden issues appear, like buried debris, compacted fill, or bad drainage. If a bid is missing those details, the final invoice can jump later.
Price varies by region and by what the ground needs. A flat, accessible yard is cheaper than a site with narrow side access, stump roots, or drainage correction. I’d be cautious about any price that treats all square footage the same, because the labor is not the same. A low price can also be the one that leaves out prep, which is how you end up paying twice. The most expensive lines on some bids are not the sod itself, but the correction work required to make common sod installation mistakes and how to avoid them irrelevant. A good result looks simple: tight seams, no obvious low spots, even color across the yard, and soil that stays firm when walked on lightly. The lawn should not feel spongy, and the edges should stay flush to concrete and bed lines. If you can see the installation work from the curb, that usually means the grading or seam layout was rushed.
What I would ask before hiring a local sod installer
I would ask five things before I signed anything: what soil prep is included, how they handle drainage, how soon after delivery the sod is installed, what watering plan they recommend for the first 14 days, and what visible defects they will fix if the lawn settles unevenly. Those questions tell you whether the contractor is pricing a surface job or a real installation.
I would also ask what kind of sod they plan to install and why it fits the site.
Leave a Reply