

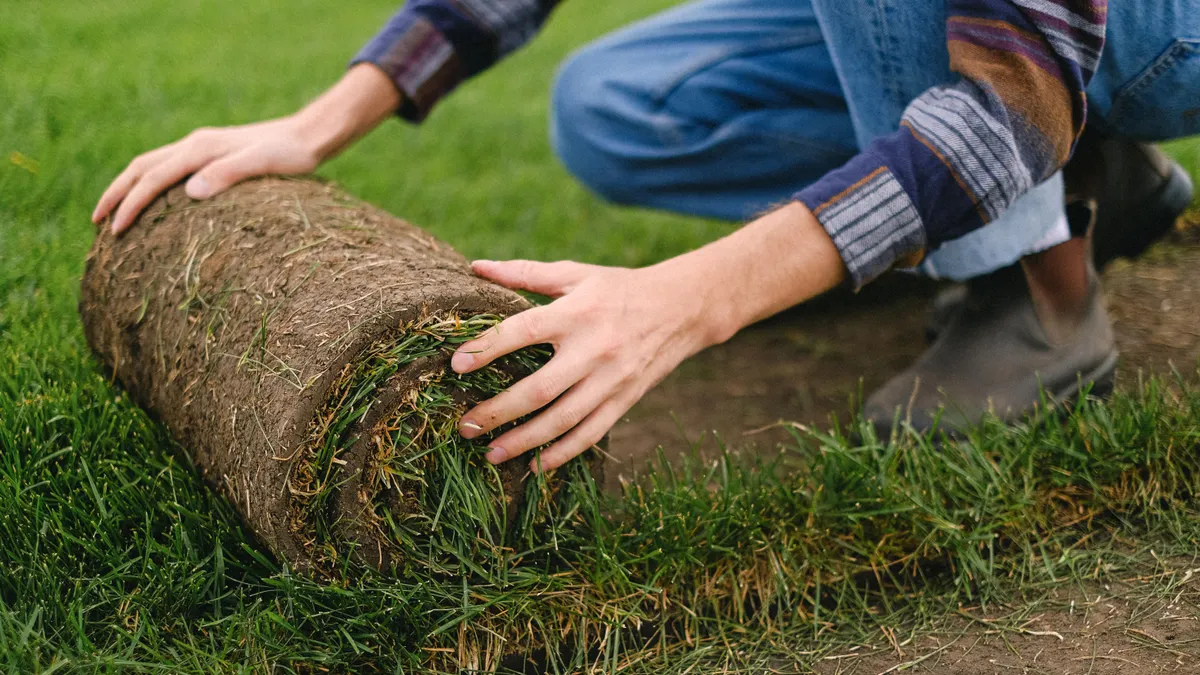
Last updated: October 22, 2026
Quick Answer: a dead sod patch is usually fixed in 6 steps—cut out the dead area, loosen the soil, add about 1/2 inch to 1 inch of topsoil and compost, set in matching sod, press it flat, and water it right away. For How to Fix Dead Patches in Sod, the goal is to remove the failed turf, correct the soil underneath, and set in a fresh patch with tight soil contact so it can knit in.
What dead sod patches need before you start
Dead sod patches need a sod knife or utility knife, a flat shovel, topsoil, compost, a roller, and a replacement piece of sod that matches the grass type and thickness of the surrounding lawn. A 12-inch square patch can be handled by one person, but the process is the same for larger spots.
The goal is simple: remove the failed turf, rebuild the base, and seat the new piece so the roots can reach moisture in the first few days. If the area is only discolored but still rooted, this page is not the one you need; this is for bare or truly dead spots after installation.
A matching patch matters more than most people think. A tall fescue piece set into bermuda sod, or vice versa, will stand out even if it survives. Thickness matters too. If the replacement slab is thinner or thicker than the surrounding sod, it will sink or bulge. Many readers skip this check and end up with a patch they can see across the yard for months.
You also need to know whether the damage is isolated. If several dead areas cover a large section, patching each one can cost more in time and materials than replacing a broader rectangle. This article is about small-area repair after installation, not seam fixes or whole-lawn troubleshooting. For broader aftercare topics, the hub guide on sod aftercare, maintenance, and troubleshooting is the better place to start.
How do I fix dead patches in sod?
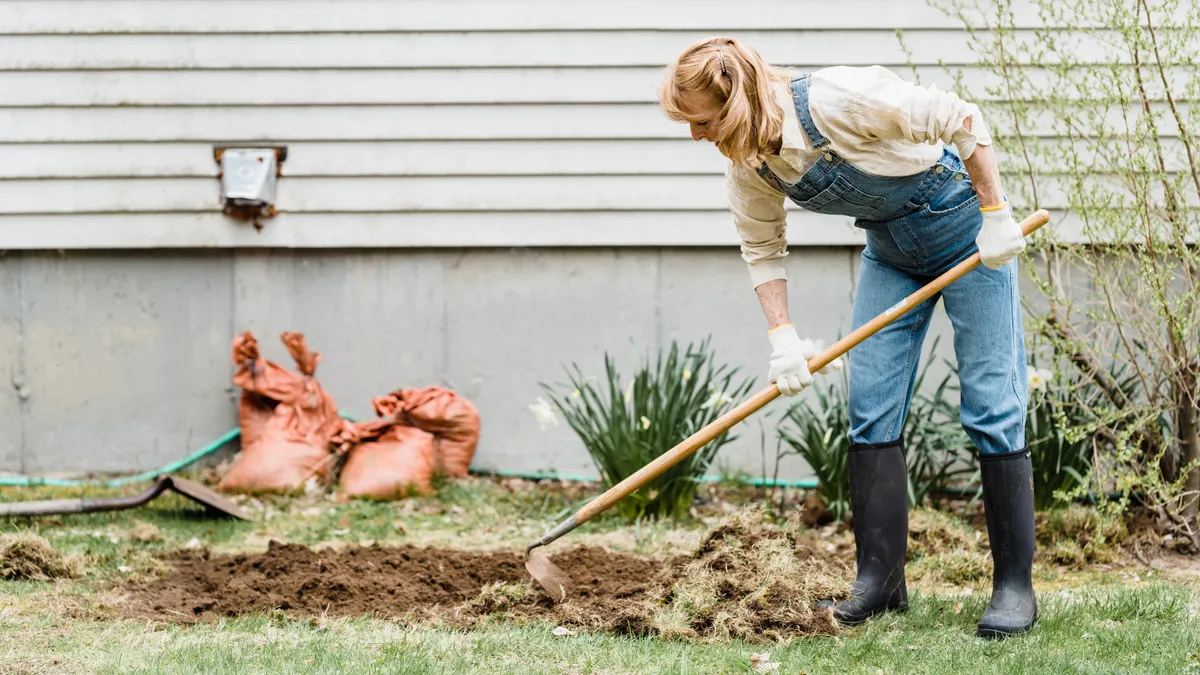
Fix dead patches in sod by cutting out the damaged piece, rebuilding the soil below it, and laying in a new matching patch that sits level with the surrounding lawn.
Here is the repair order that works:
- Cut around the dead area with a sod knife or utility knife, leaving a clean rectangle or square with straight edges. Make the cut slightly larger than the dead zone so no brown, brittle roots remain at the edge. When this step works, the patch lifts out in one piece or in a few manageable pieces.
- Remove the dead sod and loosen the top 1 to 2 inches of soil underneath with a hand trowel or small rake. Pull out roots, stones, and debris. The surface should look crumbly, not packed like hard clay.
- Add a thin layer of topsoil mixed with compost, then rake it level. A layer about 1/2 inch to 1 inch deep is usually enough. The repaired area should sit flush with the surrounding grade, not raised above it.
- Set the replacement sod piece into the opening. Trim it with the utility knife so the edges fit tightly. Press the seams together so there is no visible gap around the perimeter.
- Roll the patch lightly with a lawn roller or press it by hand with your palm or a flat board. The sod should sit flat with no air pockets underneath.
- Water the patch immediately until the soil beneath it is moist, not muddy. The surface should darken evenly, and the patch should not float, slide, or bounce when you step near it.
That sequence matters because soil contact is the real fix. A patch can look neat and still fail if the underside is bridging over loose soil. Pressing it down is not cosmetic; it is how the roots meet moisture and start knitting into the bed.
If the dead area has a hard, crusted base, scarify it with the edge of the shovel before you add topsoil. If it stays compacted, water will run off instead of soaking in. In a small repair, that matters more than adding extra compost.
If the same area keeps dying, the patch may be a symptom, not the cure, so check the drainage, buried debris, or chemical exposure before redoing the repair. For recurring problems, consult a lawn professional or local extension office; Clemson Extension notes that repeated dieback often points to an underlying site issue rather than a one-time repair problem.
One limitation is worth stating plainly: if the cause of death is still active, the new patch may fail again. Standing water, buried construction debris, or a strong herbicide residue can beat a fresh piece just as fast as the old one.
Cut out the dead patch cleanly instead of trying to revive it
Cutting out the dead patch gives the new sod a stable edge and keeps the repair from looking ragged. A jagged hole or a torn edge makes it harder to fit the replacement piece snugly, and a loose perimeter dries out faster.
Start by tracing the dead area into a square or rectangle with a sod knife or sharp utility knife. Straight sides are easier to fit and easier to blend than an oval with thin necks. If the dead zone is only a little larger than the replacement piece you have available, widen the cut to the nearest clean shape instead of forcing the new sod into a skinny fit.
Lift out the dead turf in sections if it is stuck. Do not leave dry, matted roots in place. Those roots do not help the new patch; they just create a spongy layer between the old soil and the new slab. A clean excavation 1 to 2 inches deep is enough in most cases.
This is also the point to check the surrounding sod edge. If the border is thin, brittle, or sunken, trimming back another inch can save you from a patch that looks patched. The trade-off is obvious: a slightly larger opening uses more replacement sod, but it usually gives a cleaner result than trying to save every square inch.
A generic guide often says “just overseed” or “water more.” That advice does not fit dead sod patches after installation. Seed can work in open soil, but it does not replace a failed sod slab with the same look or texture. For a dead section inside installed sod, replacement is the direct fix.
Match the replacement piece so the patch disappears faster
Matching the replacement piece is what keeps the repair from looking like a square of different lawn. Use the same grass type, the same blade texture, and, if possible, sod from the same batch or nursery run.
The easiest way to match is to bring a small sample of the surrounding sod when you shop, even if it is just a few blades and a thin strip of the thatch. If the lawn is a warm-season grass like bermuda or zoysia, a cool-season replacement will usually stand out in color and growth habit. If the lawn is fine-textured, a coarse patch will read as a different plant even after it roots.
Thickness matters just as much as color. If the sod slab is thicker than the surrounding lawn, shave the bottom with the utility knife or trim the soil base so the surface lines up. If it is thinner, add a little more topsoil under it. A flush surface is easier to mow and less likely to catch water at the edge.
If the patch is from a roll or a large piece, cut it slightly oversized first, then trim to fit. A tight edge is better than a loose one. The patch should touch the neighboring sod on all sides without overlapping it. Overlap creates a ridge; a gap dries out the edge.
This is one place where “good enough” becomes expensive later. A mismatched patch can survive and still annoy you every time you see it. If the lawn is highly visible from the street, choosing a better-matched replacement piece is worth the extra trip.
Set the patch in soil that can actually hold roots
Setting the patch in the right soil matters more than packing it hard. The underside of the new sod needs close contact with moist, loose soil, not a hard pan or a fluffy cushion of debris.
Work in a thin blend of topsoil and compost, then rake it level so the patch sits at the same height as the surrounding lawn. A layer of about 1/2 inch to 1 inch is usually enough to correct small depressions. Too much fill creates a raised spot that dries unevenly and feels soft underfoot. Too little leaves the patch bridging over a hollow.
If the original soil is sandy, compost helps it hold water longer. If it is heavy clay, compost helps it open up a bit. The point is not to rebuild the whole root zone; it is to give the patch a fine, even bed that does not crust over. Break up any clods larger than a walnut before setting the sod.
After the patch is in place, use a roller or firm hand pressure to eliminate air pockets. You should not feel the patch rock when you step around it. That wobble means the roots are not in close contact with the soil, and the patch will dry faster than the rest of the lawn.
Avoid the common mistake of piling soil around the edges to “seal” the patch. That creates a lip that traps moisture against the edge and makes mowing messy. A flush repair looks better and grows more evenly.
Watering patched areas without flooding them
Watering patched areas means keeping the top inch of soil evenly moist for the first stretch, not soaking the repair until it floats. The patch should be watered right after installation and then checked daily in the first several days.
Give the area enough water to moisten the sod and the soil beneath it. For a small patch, that may be a short hand-watering session; for a larger repair, use a sprinkler with a gentle spray. The surface should darken and feel cool, but water should not puddle around the edges. If it does, you have given too much or the grade is too low.
In hot weather or wind, a patch dries faster than the surrounding lawn because the edges are exposed. That is why people often think the repair failed when the real problem is uneven watering. Keep the patch damp enough that the underside does not dry out, especially during the first 7 to 10 days.
Do not let a hose blast the patch out of place. A hard stream can wash soil from beneath the sod and leave a hollow. Use a shower setting or low-pressure sprinkler pattern instead.
This is not a place for guesswork. If the patch seems dry by late morning, water it. If it still feels soggy at the edge, back off. The right amount is the one that keeps the patch moist without turning the repair into mud. The University of Maryland Extension recommends keeping new sod consistently moist during the establishment period rather than letting it cycle between dry and saturated.
Common mistakes that make a patch fail again
The most common mistake is leaving the dead roots in place, which keeps the new sod from touching good soil. The cost is a patch that dries out at the base and may fail in the same spot. Remove the old material completely and start with a clean bed.
Another mistake is using a patch that is not the same grass type. The cost is a visible mismatch that can last all season. The fix is to match blade width, color, and growth habit before you cut.
A third mistake is setting the patch too high or too low. A raised patch catches mower blades and dries at the edges. A sunken patch collects water and settles further. Aim for level with the surrounding lawn, even if that means shaving the underside or adding a thin layer of topsoil.
People also skip the roller or hand pressure step. That leaves air pockets under the sod, which dry the roots before they can anchor. A few passes with a small roller, or firm pressure along the whole patch, usually solves that problem.
The last big mistake is assuming the repair is done after the patch is laid. The first 2 weeks matter. Keep foot traffic off the area, watch the moisture, and trim only when the patch has settled enough to mow cleanly. If the patch is repeatedly disturbed, it can shift before it anchors.
If you want the broader context around sod care after installation, the hub article on sod aftercare, maintenance, and troubleshooting fills in the surrounding decisions without repeating this repair process.
When a patch is the right fix, and when it is not
A patch is the right fix for a small dead area with healthy sod around it and a stable base underneath. It is not the right fix if the damage keeps spreading, if the soil stays waterlogged, or if the same spot dies again after repair.
If the dead zone is large enough that every patch would need its own edge work and soil correction, replacing a wider section is usually cleaner. That saves time and reduces the number of seams that can dry out. If the failure came from a buried obstacle, drainage issue, or chemical injury, the patch may only be a short-term cover unless the root cause is fixed.
That is the honest trade-off: patching is fast and precise for small spots, but it does not solve a landscape problem that is still active. If the dead area is isolated, this method is the right one. If the lawn has multiple repeating dead zones, the repair should start with diagnosis, not cutting more squares.
Key Takeaways
- A dead sod patch is fixed by removal, soil prep, replacement, and watering in that order.
- The replacement piece should match the original grass and sit level with the lawn.
- Thin topsoil mixed with compost helps the new patch contact the root zone.
- Rolling or firm hand pressure matters because air gaps kill roots fast.
- Keep the patch moist for the first stretch, but do not flood it.
- If the same area keeps dying, the patch is a symptom, not the cure.
How big can a dead patch be before I replace the whole section?
A dead patch is small enough to replace when you can cut it cleanly and fit one matching piece without turning the repair into several seams. Once the damaged area becomes wide enough that multiple patches would be needed, a larger replacement section is usually cleaner and easier to keep level. The shape matters as much as size.
Can I patch dead sod with the same grass type?
Yes, and matching the same grass type is usually the safest choice. A patch with a different grass often survives but still looks wrong because the blade width, color, and growth habit do not match. If possible, match the exact cultivar or at least the same species and sod thickness for the closest visual blend.
How long does patched sod take to blend in?
Patched sod starts blending as soon as it roots and grows into the surrounding lawn, but the exact timing depends on grass type, weather, and mowing. In practice, the patch often looks obvious at first and then becomes less noticeable after several mowings. A clean match and level installation make it blend faster than watering alone.
Drafted with AI; not yet reviewed by a person.