

Last updated: September 10, 2026
Key Takeaways
- I would treat new sod like a temporary skin for the first 2 to 3 weeks, but if you’re unsure whether the lawn is still loose enough to move, consult a professional.
- Cut only enough to free the seam, usually 1 to 2 inches under the edge.
- Check again after 24 to 48 hours.
- Do not leave lifted pieces sitting in the sun for 20 minutes while you prepare the rest.
If your new sod has visible seams, open gaps, or raised edges, the fix for how to fix seams, gaps, and uneven sod after installation is usually to re-seat the pieces, topdress the joints, and keep the lawn evenly moist for the first couple of weeks. I’m talking about fresh sod that has not fully rooted yet; once it has knitted into the soil, the repair changes from “adjust and settle” to “cut out and replace.” For timing guidance, many turf extension guides recommend frequent light irrigation during establishment, but if the lawn seems anchored or the base feels unstable, consult a professional.
Who this applies to, and what I’m assuming you already have
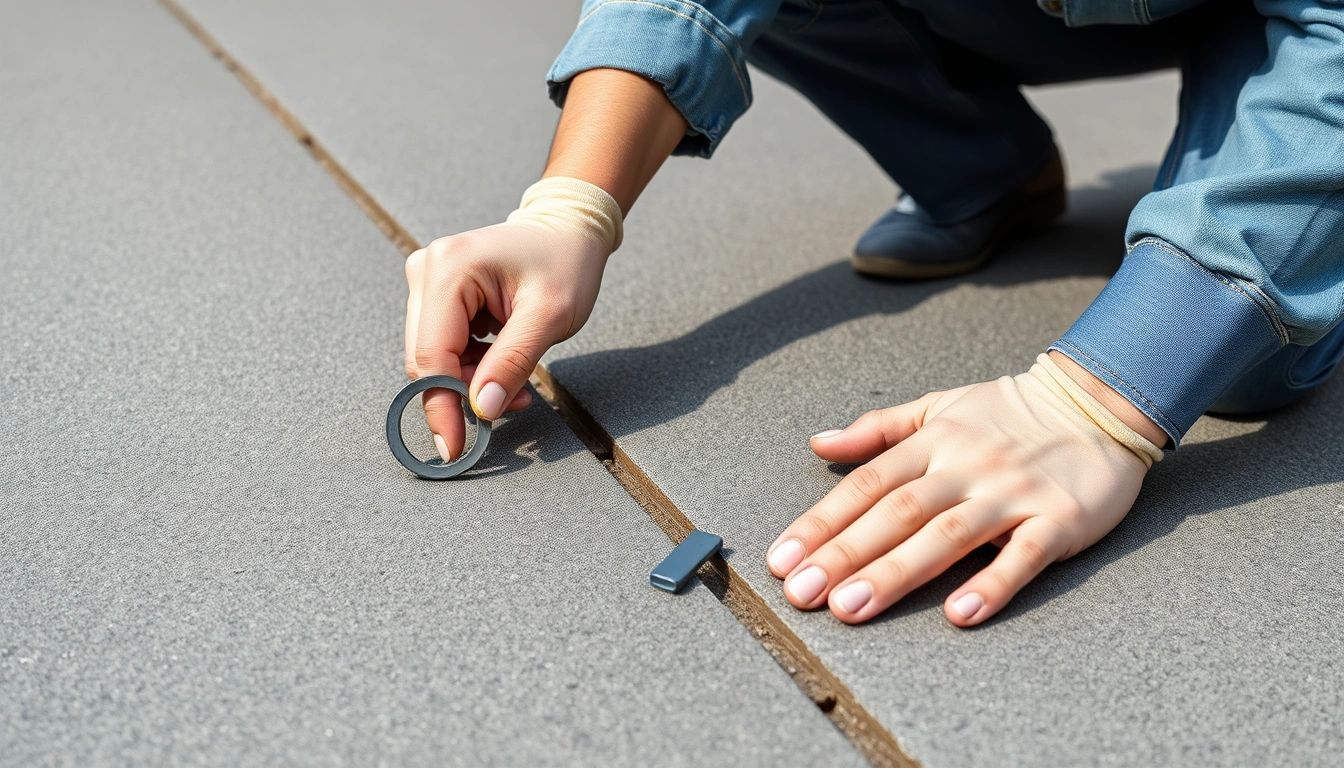
This applies to a lawn installed within the last few days or, at most, a few weeks, where the sod is still flexible enough to lift by hand. I’m assuming you have a knife or spade, a landscape rake, a straightedge or board, a roller or a heavy lawn roller if one was used during installation, clean topsoil or leveling mix, and a hose with a sprinkler. I’m also assuming the base was prepared correctly with about 4 to 6 inches of loosened topsoil and that the sod type matches your climate, sun exposure, and irrigation.
The answer is not to “fill” every flaw with more sod. Seams usually mean the pieces were laid too tightly or the ground settled after installation; gaps usually mean shrinkage, cutting mistakes, or pieces that pulled apart; uneven sod usually means the grade underneath was wrong or the sod was not tamped into contact with the soil. Those are different problems, and they need slightly different fixes.
This is a normal homeowner repair if the issue is cosmetic or light settling. It is the wrong tool if the lawn has large hollow spots, standing water after watering, a soft spongy base, or dead strips from heat and drought. In those cases, the surface problem is only a symptom of a deeper install issue.
Why seams, gaps, and bumps happen in the first place
Seams and gaps show up because sod is living material, not tile. A pallet contains pieces that dry unevenly, curl a little at the edges, and shrink after they’re cut. Even a small 1/4-inch to 1/2-inch shrink in each piece can create visible lines across a yard. Uneven sod usually comes from one of three things: the soil was not graded flat, the sod was laid over soft fill that later settled, or the installer rolled a wet lawn too hard and pushed some pieces down while others stayed high.
The fix depends on whether the problem is at the surface or in the base. Surface-only issues show as thin joints, lifted corners, and minor ridges under 1 inch. Base problems show as dips, soft spots, or a roller that bounces when you walk across it. If the ground underneath moves, any patching done on top will fail again.
I would treat new sod like a temporary skin for the first 2 to 3 weeks, but only as a general rule of thumb; if the pieces seem to be rooting unevenly or the base is soft, consult a professional before forcing a repair. Until roots start to anchor, you can still nudge pieces into place. After that, the margin for correction shrinks fast. That is why timing matters more than cosmetics. A small defect fixed during week one is cheap; the same defect ignored until month two may require cutting and replacing sections.
Climate matters too. In hot, windy areas, seams open faster because the edge dries before the center. In cool, wet regions, the problem is often the opposite: pieces swell, then settle as the soil dries. On clay soils, the base can hold water and heave slightly; on sandy soils, the lawn can drop where the subgrade was underfilled. Those conditions change how much topdressing is safe. A 1/4-inch dusting of soil is one thing; burying the crown of the grass is another.
How do I fix sod seams and small gaps?
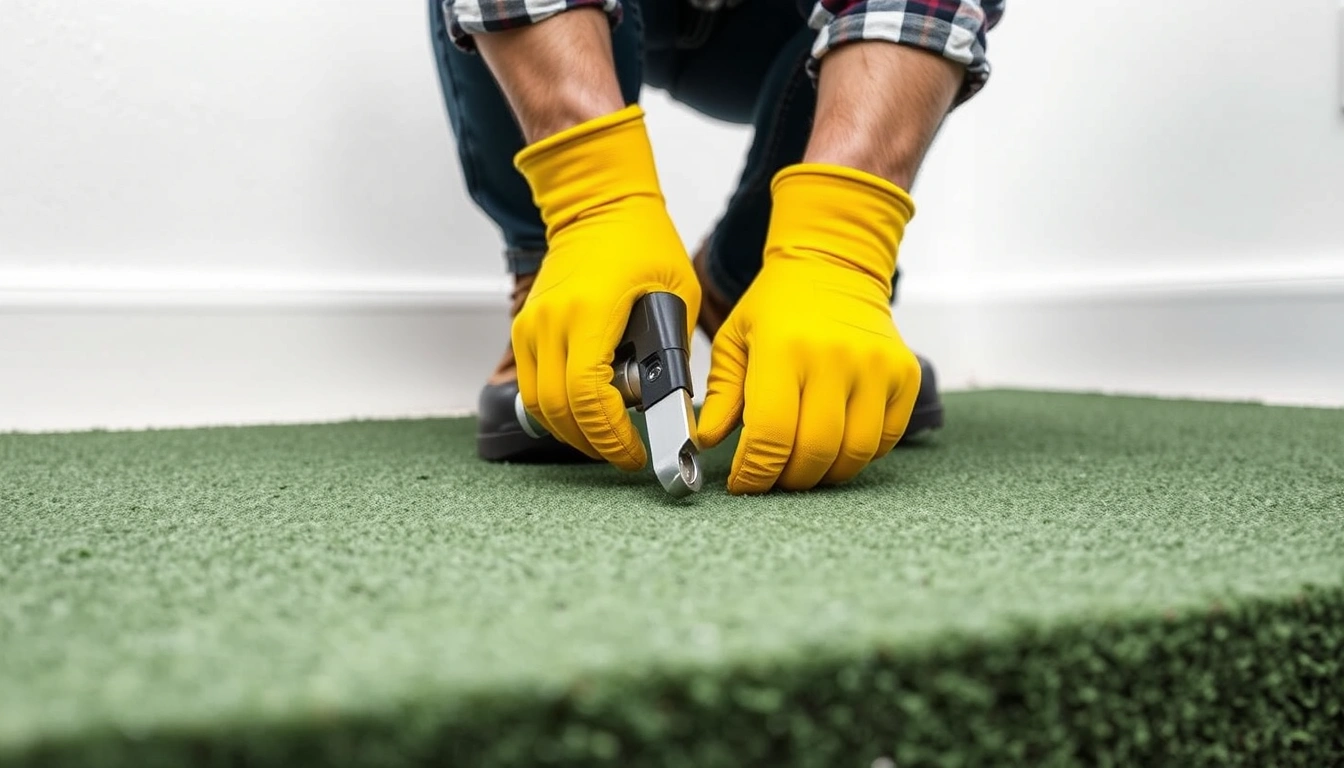
You fix them by lifting, re-bedding, and lightly topdressing the joints, not by packing more dirt on top. The goal is to make the edges touch without burying the grass crown, which is the growing point where blades emerge.
Here is the sequence I would use:
- Water the lawn lightly first. Moisten the sod and the top inch of soil 30 to 60 minutes before you repair so the pieces flex instead of crack. Verify the ground is damp, not muddy. If water squeezes up when you step, it’s too wet and will smear instead of settle.
- Lift the loose edges with a knife or spade. Cut only enough to free the seam, usually 1 to 2 inches under the edge. Verify the underside still has contact soil; if it is dry and dusty, the sod has not rooted yet and needs more frequent watering. If the piece tears away cleanly and roots are already matted through, the issue is older than a simple seam fix.
- Pull adjoining pieces snug, not tight. Slide edges until they just meet, with no overlap and no daylight showing between them. Verify the blades are aligned and the edges sit at the same height. If one side pops above the other by more than 1/4 inch, the base is uneven and needs leveling underneath.
- Fill narrow gaps with matching topsoil or leveling mix. Use clean, screened soil and keep the fill under 1/2 inch deep. Verify the soil sits flush with the top of the sod, not above it. If the fill covers the crown, the grass will yellow or rot at the edge.
- Press the seam down with your hand or a board. Apply even pressure along a 2- to 3-foot section so the roots touch the soil below. Verify the sod doesn’t rock when you step on it. If it still bounces, there is an air pocket underneath.
- Topdress lightly over the joint. Spread a thin layer, about 1/8 to 1/4 inch, and brush it into the seams. Verify you can still see most of the grass blades above the soil line. If you disappear the blade bases, you’ve covered too much.
- Water in the repair immediately. Use enough water to settle the soil without washing it out. Verify the seam darkens evenly and does not pool. If the fill runs away, the sprinkler is too hard or the slope is too steep for that material.
- Check again after 24 to 48 hours. Look for shrink-back, raised corners, or new low spots as the soil settles. Verify the joint stays closed. If the gap returns after one watering cycle, the base likely needs more grading, not another surface patch.
This approach works best for gaps under about 1 inch. Bigger openings are not just seams; they are missing sections. For those, I would cut a matching piece from a spare strip rather than pile soil across the void. A soil bridge dries out too fast and leaves a weak patch.
What causes uneven sod, and how much can you fix from the top?
You can correct minor unevenness from the top, but you cannot flatten a bad subgrade with surface fill alone. The common rule of thumb is this: if the difference is under 1/2 inch, topdressing and careful rolling may solve it; if it is between 1/2 inch and 1 inch, re-lift and re-level that section; if it is more than 1 inch, the base needs to be rebuilt in that spot.
The first check I would make is with a straight board or a 6-foot level. Lay it across the hump or dip and see how much daylight or drop you have. A gentle rise can come from a folded edge under the sod. A dip can come from compacted fill settling under a sprinkler line or foot traffic during installation. The fix changes with the cause.
For small high spots, lift the sod, shave off excess soil, and reset it level with the surrounding grade. For shallow low spots, add screened topsoil in thin layers no deeper than 1/2 inch at a time, then press the sod back down and water. Do not dump a thick layer under an already laid piece. That leaves an unstable pocket that settles later.
If the unevenness is across a larger area, I would stop treating it as a patch job and think in terms of grading, and if the area is broad enough that the pattern keeps returning, consult a professional or the installer. That may mean lifting several strips, redistributing soil, and resetting the runs so water flows away from the house and does not puddle. A yard can look flat enough to the eye and still hold water in a 2-foot depression.
This is where a generic article often gets things wrong: it tells people to “roll the lawn.” Rolling can help contact, but it does not fix a bad grade, and on soft soil it can make the problem worse by pressing some areas lower. Use a roller only when the base is already close and the sod just needs contact. If you are trying to eliminate a noticeable dip, a roller is the wrong tool.
When should I stop patching and call the installer back?
You should stop patching when the problem is structural, keeps returning, or covers a large portion of the lawn. In those cases, the repair is not a seam fix anymore; it is a warranty, grading, or drainage issue.
Gaps keep reopening after watering and a day of drying: the sod is shrinking because it was laid too dry or the soil underneath is not holding contact — ask the installer to inspect the base and replace sections if needed.
You can feel soft spots that sink more than 1 inch under normal steps: the subgrade is settling or there is void space under the sod — surface fill will fail, so the area needs regrading and recompaction.
Water pools for more than 10 to 15 minutes after irrigation: the grade or drainage is wrong — the fix is to reshape the soil, not to add more topdressing on top.
Edges are yellowing or browning within the first few weeks: the crown may be buried or the sod is drying at the seam — uncover the crown if it is smothered, or raise the watering frequency if the root zone is too dry.
More than about a quarter of the lawn shows uneven height: the problem is installation-wide, not local — that points to a leveling error or uneven rolling, and the whole section may need to be reset.
The sod has visibly rooted and tearing it would rip established roots: the repair window has closed — cutting in new patches is safer than trying to slide old pieces around.
If the installer promised a finished grade or a warranty on workmanship, this is the stage where documentation matters. Take photos of the gaps, dips, and any pooling before you change the area. That does not solve the lawn, but it makes the conversation about a specific defect instead of a vague complaint.
The mistakes people actually make, and what they cost
The most common mistake is filling seams with too much soil. That buries the crown, blocks air, and can cause a yellow line along the edge within 1 to 2 weeks. The fix is a thin topdress, not a mound.
Another error is stretching sod pieces to close a gap. That leaves hidden tension in the strip, and the edge often pulls back again as it dries. The correct move is to cut a filler piece to fit the opening, even if that takes another 10 minutes.
People also water too hard after a repair. A strong spray washes soil out of the seam and can expose roots. I would use a gentle cycle or a finer nozzle so the surface settles without moving. If the repair area is on a slope, water in two or three shorter passes instead of one long soak.
Rolling too early is another problem. A heavy roller on soft ground can press one section down 1/2 inch or more while leaving adjacent strips high. Use it only when the soil is firm enough to resist footfall, usually after the first few days, not right after a flood of irrigation.
A fifth mistake is ignoring the pattern. One crooked seam may be a hand-placement issue; repeated ridges every few feet usually mean the installer was laying across a crowned or uneven base. That changes the fix from spot repair to regrading.
Finally, some people mow too soon. A mower wheel can catch a lifted edge and peel it back. Wait until the sod resists a light tug and the lawn has had at least one or two good watering cycles with no lifting at the edges. The exact timing depends on temperature and sod type, but if you can still move the piece by hand, it is too early.
What changes in hot weather, heavy soil, or a sloped yard?
You have to change the repair method when heat, clay, or slope makes the seam unstable. In hot weather above roughly 85°F, exposed edges dry fast, so I would work in short sections and water the seam immediately after each one. Do not leave lifted pieces sitting in the sun for 20 minutes while you prepare the rest.
On heavy clay soil, use less topsoil and more careful pressing. Clay holds moisture, and a thick repair layer can stay wet too long, suffocating the crown. On sandy soil, the opposite is true: the repair dries quickly, so a slightly finer topdressing and more frequent light watering may be needed to keep the seam from shrinking back.
On slopes, gravity works against you. Soil added to a seam can slide downhill, especially if it is loose and dry. In that case, use shorter topdress applications, press the sod from the uphill side first, and water in small cycles. If the slope is steep enough that water runs immediately off the surface, a standard topdress repair will not hold and the area may need erosion control or regrading.
If the sod was installed over a sprinkler trench or utility repair, expect some settling. That zone usually needs repeated adjustment over 2 to 3 weeks because the fill compresses as it dries. A single patch is often not enough.
How long does this take, and what should a repaired seam look like?
A small seam repair usually takes 15 to 45 minutes for a few linear feet, and a larger uneven section can take a couple of hours if you have to lift and reset strips. The result should look subtle rather than perfect: the edges meet without an obvious crack, the surface feels firm underfoot, and the repair is barely visible from standing height after the next